
- Level:
- Novice
- Lessons:
- 18 Lessons
Storing your first ideas
Store your brainstorming notes in a Snippet, and learn about the parts of a Snippet, and how to format prose or notes in Novelcrafter.

- Reading Time
- approx. 4 min
When you start a story, ideas often come in pieces. It might be a character, a premise, a genre, or a scene. For me, I picture moments that I want to write, and soon, my notes app and notebooks are covered in ideas.
A good first step after creating a novel is to capture all of this somewhere, even if your notes are not organized or clear. This ensures you can easily find them again later, and have a starting point for your next writing session.
In this lesson, you’ll capture your early story ideas in Snippets, learn how to fill them with notes, and organize your ideas with simple formatting.
Snippets
In Novelcrafter, you can store notes, and other pieces of text separate from your draft/manuscript in Snippets. They’re documents where you can put all your ideas, character notes, and brainstorming before you’re ready to organize them. Later, we’ll move the polished information into the Codex (which is your story’s very own wikipedia - see lesson 3).
I usually put the following details into my brainstorming notes (as they come to mind):
- The premise for the story (the core idea of your story in one or two lines)
- Any characters I have already imagined (could be just a name, or already a quirk they have)
- The genre of the story (which is the ‘book shop category’ of my story, in this case, Cozy Mystery)
- Any key locations (maybe a character visits a school, or a specific work place, some town, etc.)
- Potential key scenes as I think of them (new neighbour in town, finding a new clue)
- Quotes anyone might say in the story
If any of these don’t feel right for you, that’s fine, ignore them! I often forget details if I don’t write them down, so I need to add this much detail for my stories.
There are two ways to create a Snippet, depending on where you are in Novelcrafter.
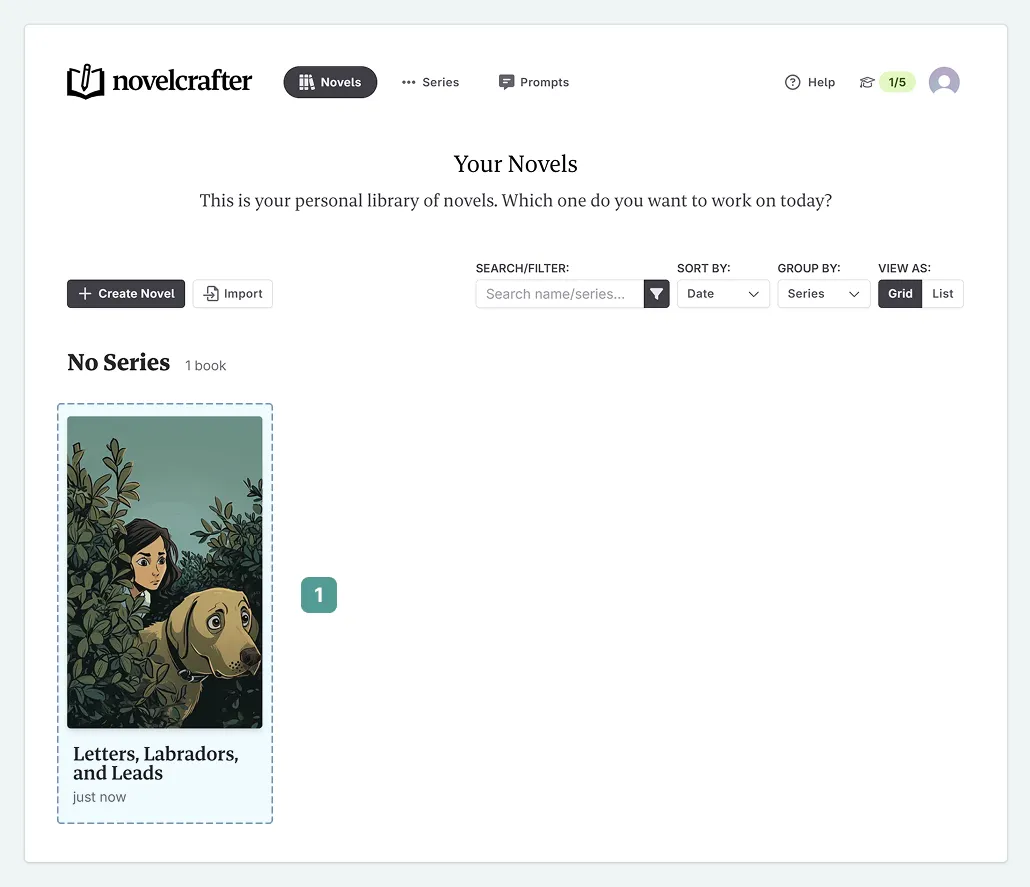
If you haven’t already done so, open up your novel by clicking on the image of your book in your novel library. If you added a cover image in the last lesson, this can now be seen in the novel library. A placeholder image is used if you have not added a cover image. If you are following on directly from lesson one, this step is not needed.
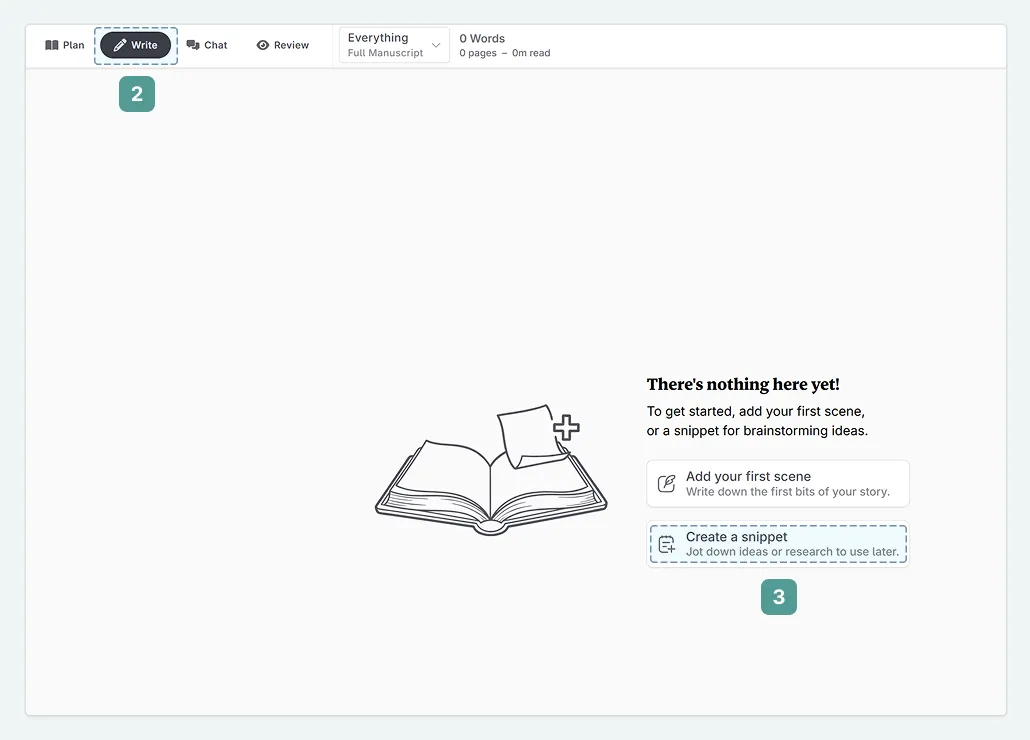
In the top bar, click on Write (between Plan and Chat)
If you have not yet created a scene, the Write interface will be empty. Click on Create A Snippet
Alternatively, for quick access anytime (or if you already have some chapters/scenes), you can use the Snippets tab in the sidebar (the panel on the left). This works from anywhere in your novel.
In the Sidebar, click on Snippets
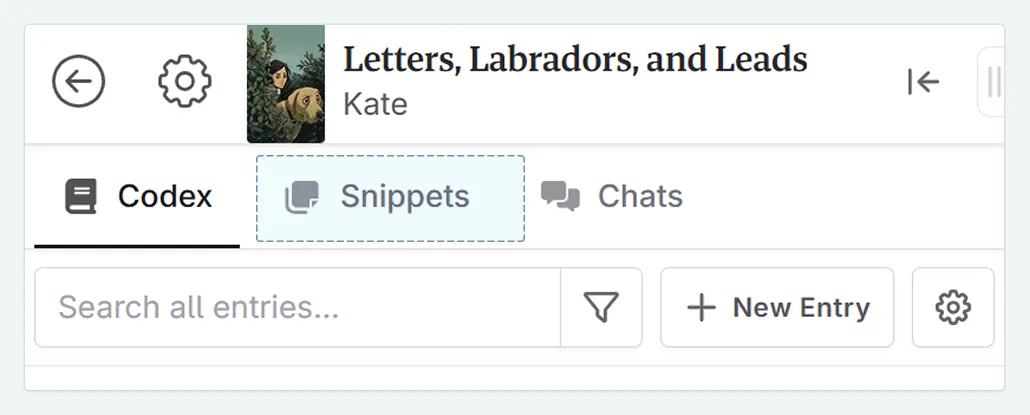
Click on + New Snippet
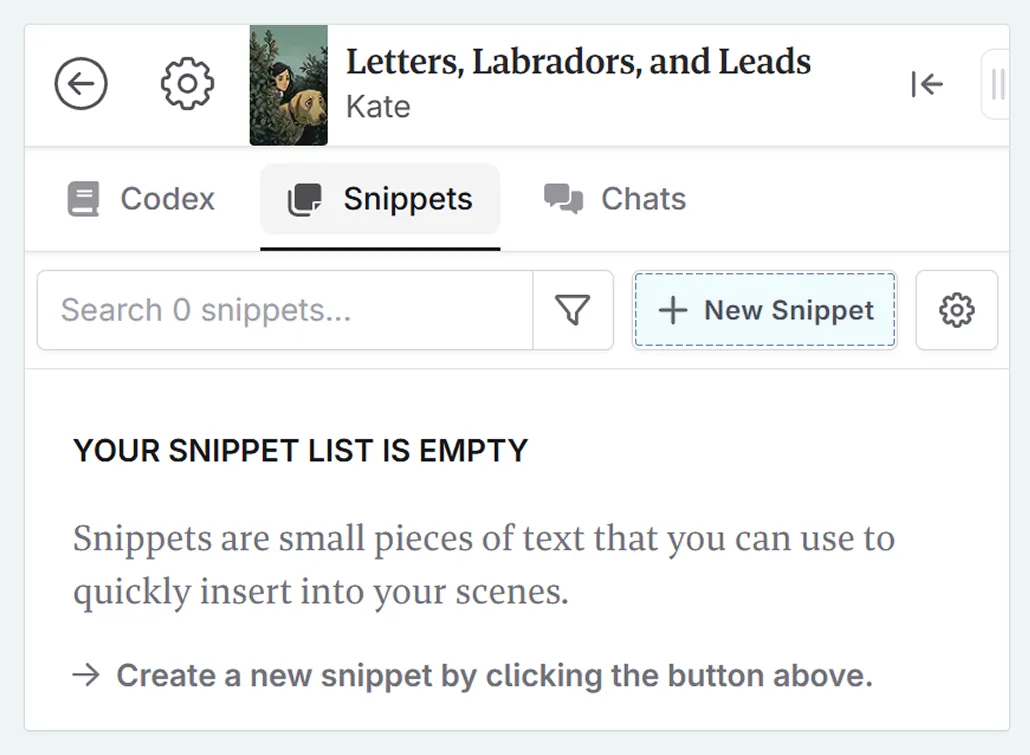
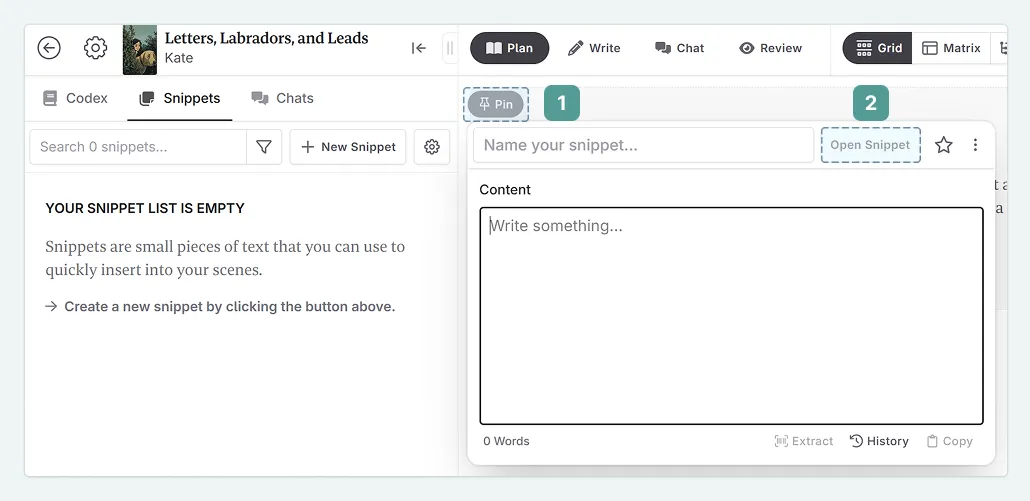
A new Snippet opens in a pop-out window. Pin this to the sidebar (therefore keeping it visible while you work), or click Open Snippet to view it in the main Write interface.
The first method is great when you’re just getting started on your project. The sidebar method is the fastest way for capturing a sudden spark of inspiration, no matter what you’re working on in Novelcrafter!
The layout of snippets
Once opened in the main interface, a Snippet has three parts.
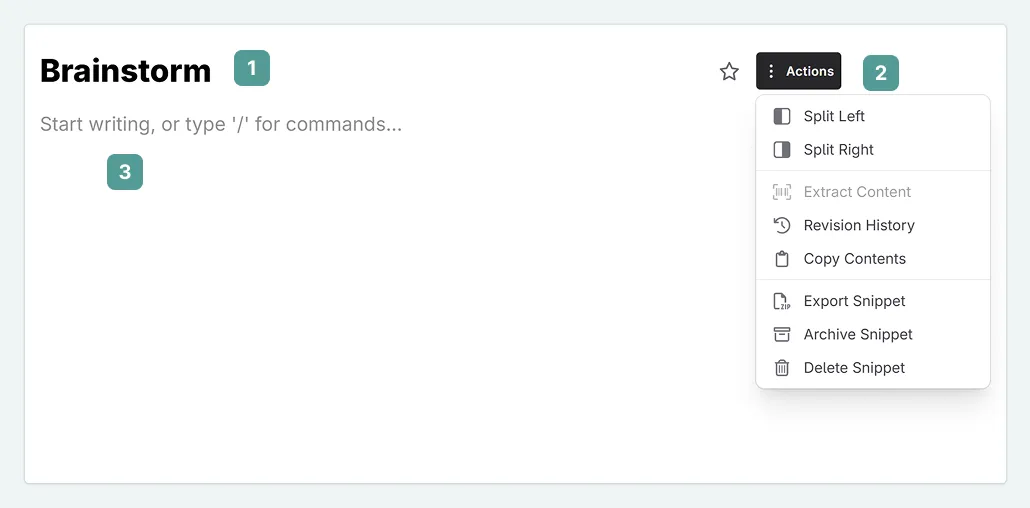
- A title. Name your Snippet to keep things organized. You can search for Snippets by name in the Sidebar.
- The Actions Menu (three-dot menu for settings). All settings related to your Snippet can be found here.
- The Contents area. This is where you put all your wonderful notes.
Adding your ideas
Now that we have created our Snippet, let’s add some content. If you’re starting a story from scratch, this might involve typing out everything that comes to mind. If you already have notes, just copy and paste them in. Use one Snippet or many—whatever helps you think.
At this stage, don’t worry about perfect spelling or beautiful sentences. The main goal is to get your ideas out of your head and into the Snippet. Think of it as a creative brain dump—you can always organize and polish it later.

In the example above, I’ve called my Snippet “Brainstorm” and placed all my initial notes into this single Snippet.
Finding Snippets
Once a Snippet is made, it can be found in the sidebar. You can search your Snippets by name as well as their content in the sidebar.

Organizing your content
As we start adding our brainstorming notes, we’ll want to organize them so they’re easy to navigate later. You may have noticed that there is no obvious editor in Novelcrafter. This is by design. When you select text, a menu appears with options for formatting your text:

Alongside classics like bold, italic, and underlined, you can also use bullet points, headings, and quotes within your Snippets.
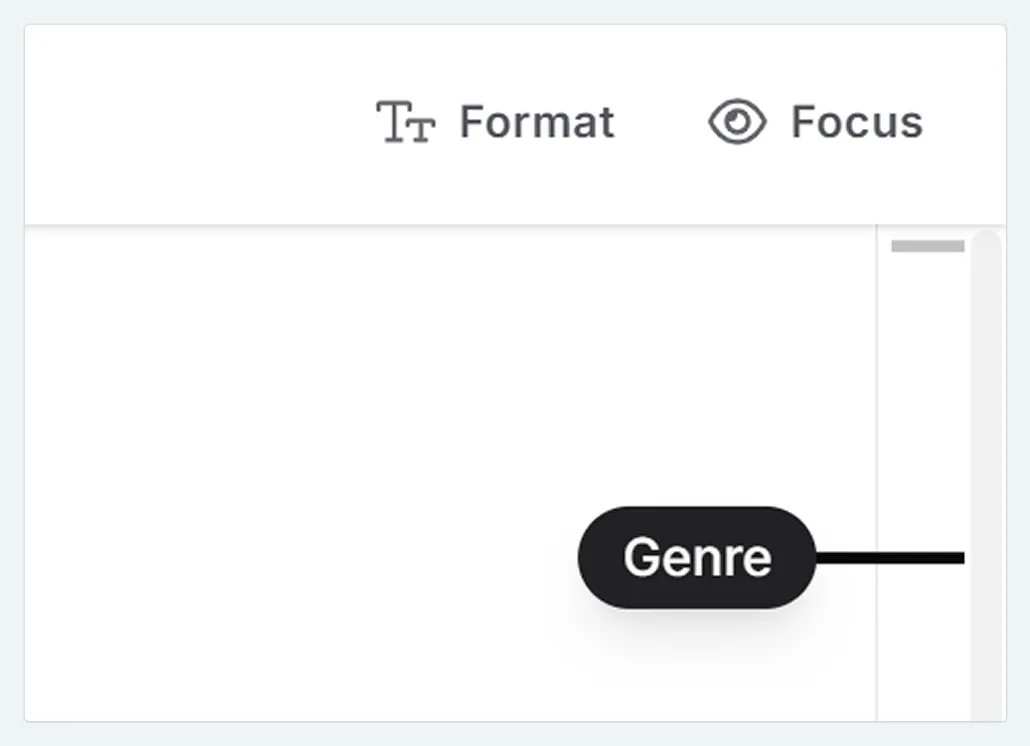
When you add headings, Novelcrafter detects them and makes it easy to jump between sections using the scroll navigator on the right hand side.
Each heading is represented by a line, and clicking between these is the quickest way to jump to the different areas of your Snippet (for example, switching between ‘Locations’ and ‘Characters’).
I’m going to take a moment to format my Snippet now, adding headings, some bullets, etc. to keep it all organized. I’m keeping it light. Just enough structure to make refining easier later.
I have used headings, and some basic formatting such as bullet points. You may want to format in a similar way, or keep your current notes as they are.
Putting it all together
You now have a place to catch your early ideas and shape them with simple headings and lists. In the next lesson, we’ll move a few of these notes into the Codex (your story’s wikipedia) to organize and expand our worldbuilding.
This lesson was taught by:
Kate
Based in the UK, Kate has been writing since she was young, driven by a burning need to get the vivid tales in her head down on paper… or the computer screen.