
- Level:
- Novice
- Lessons:
- 18 Lessons
Setting up a Novel
Create and set up your first Novel in Novelcrafter, and learn how to change settings and properties associated with it.

- Reading Time
- approx. 3 min
In this first lesson, we’re going to set up our novel, and then take a look at how to edit the novel settings. When starting a new novel, you will have questions about what to call your story, what inspiration you will use for the cover, or what language your book is written in.
The decisions we make upon creating a novel can be changed, so feel free to use a placeholder for any section you don’t yet have an answer to, and change them any time.
Creating a novel
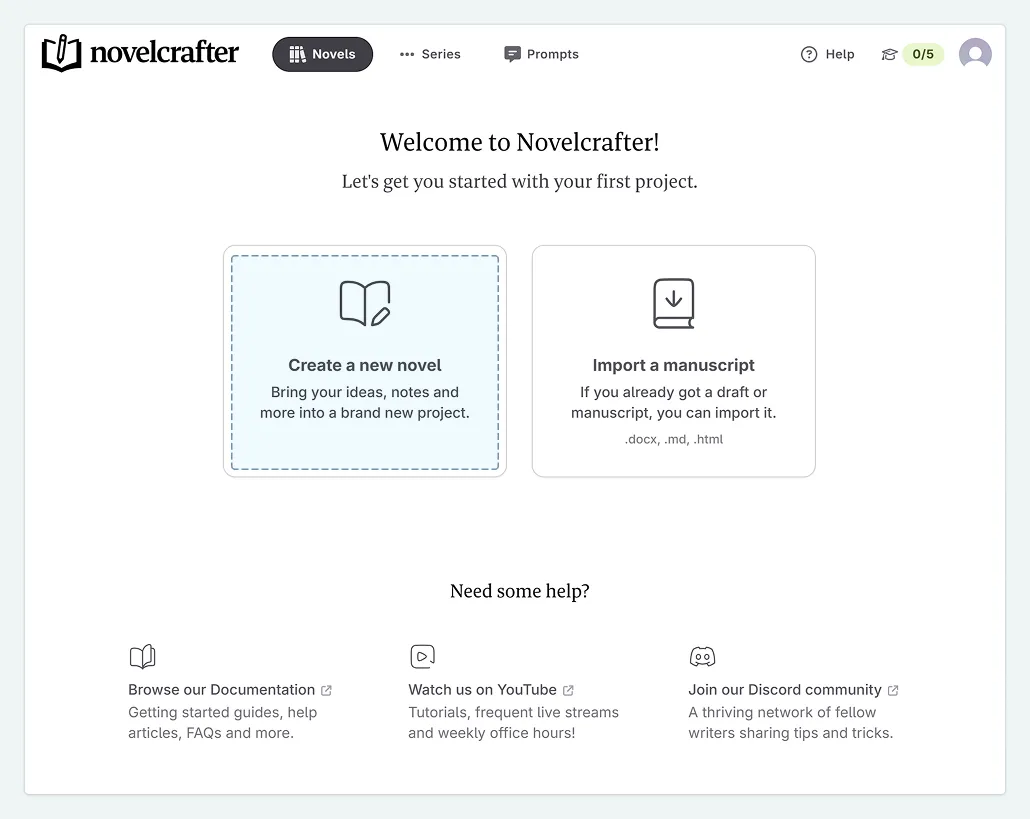
Let’s start by creating our novel. To do this from the home screen, select Create a New Novel
From there, you are taken to a new page, where you can:
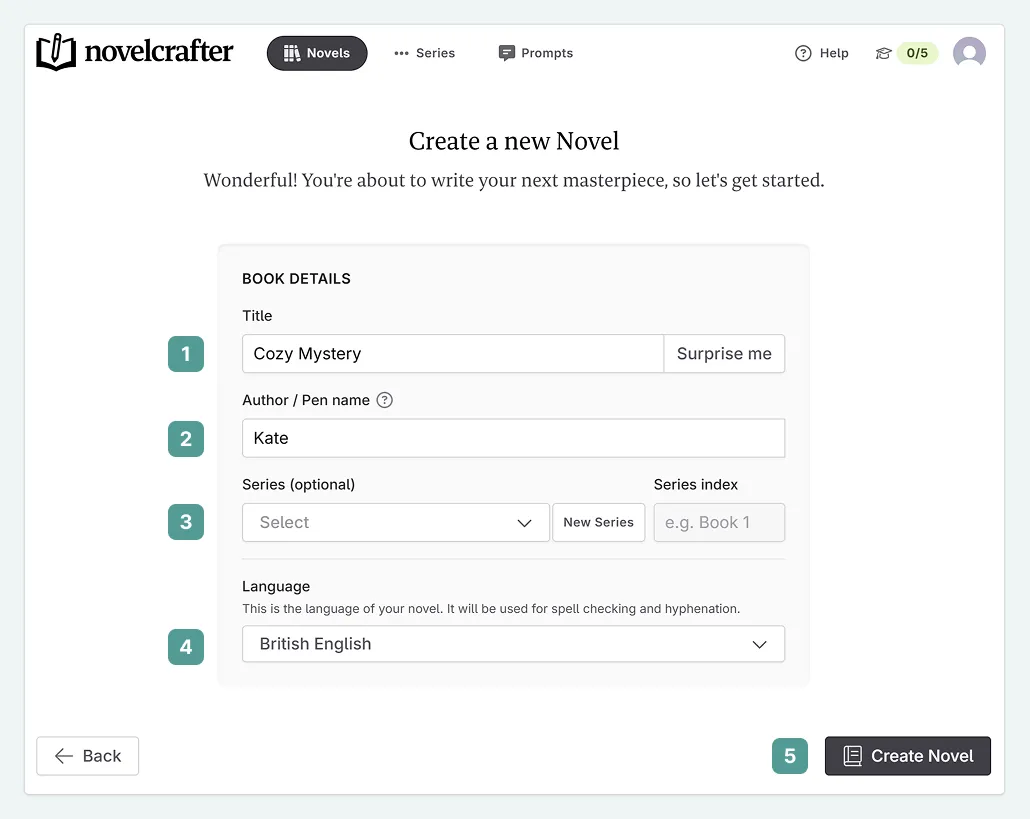
Name your novel. For now I’ll put a temporary name, ‘Cozy Mystery’. If you are looking for inspiration, you can also click the Surprise Me button as many times as you need.
Choose whether you want to use your own name, or a pseudonym/pen name (a fake name authors use to protect their identity). You can leave it unchanged, with just the name associated with your account there.
If you’re writing a series (or plan to do so), you can set this up here. If you are unsure, it is fine to leave this blank for now—you can add the novel to a series later (we’ll cover this later).
Finally, choose the novel language. While this does not change the app/interface language, it impacts AI prose output, your browser’s built-in spellcheck (the red underlines that appear under misspelled words), and other workings in the app, so it’s good to set this from the start.
Click Create Novel
That’s it! Your novel is now created, and you’re taken straight into its Plan view, which is where you can outline your story and organize your scenes/chapters/acts. You can learn more about the interfaces and their layout in our documentation.
Changing a novel’s metadata
Now that you’ve created your novel, you might want to jump right into writing, but let’s take a quick detour to show you some important settings first.
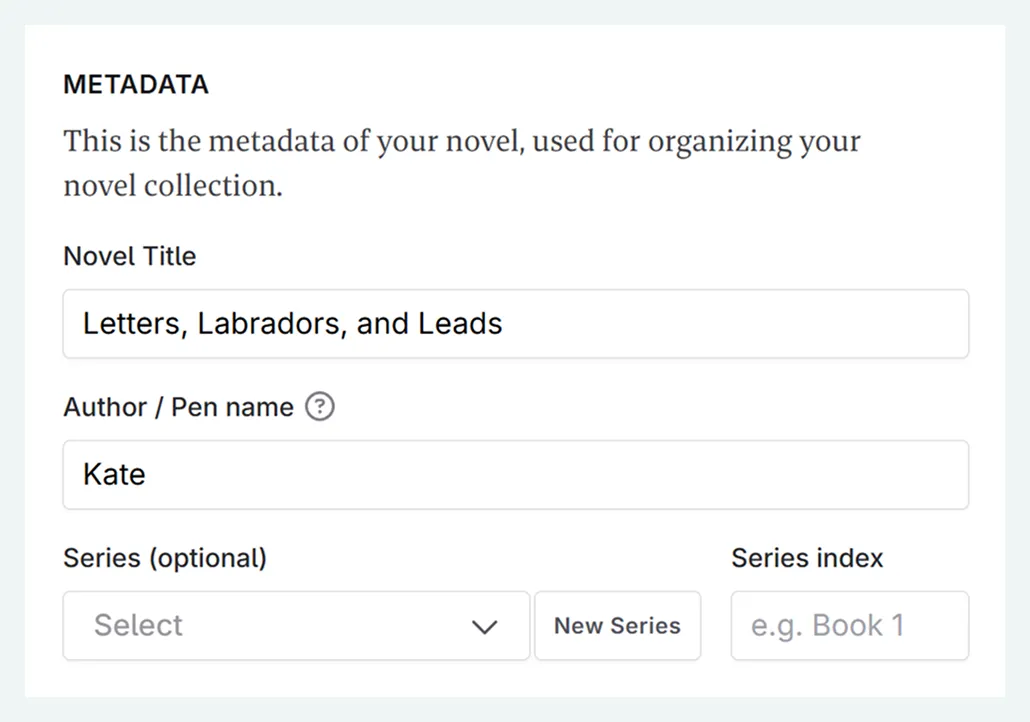
In the novel settings, you can change all the details from the novel creation (like title, author, series, and language), in addition to setting a cover image for inspiration—and it will show up in our library!
Click the settings cog/gear in the top left-hand corner, next to the novel name.

In the novel settings, you can change any of the details we set earlier. For example, I’m going to change the novel name to ‘Letters, Labradors, and Leads’.
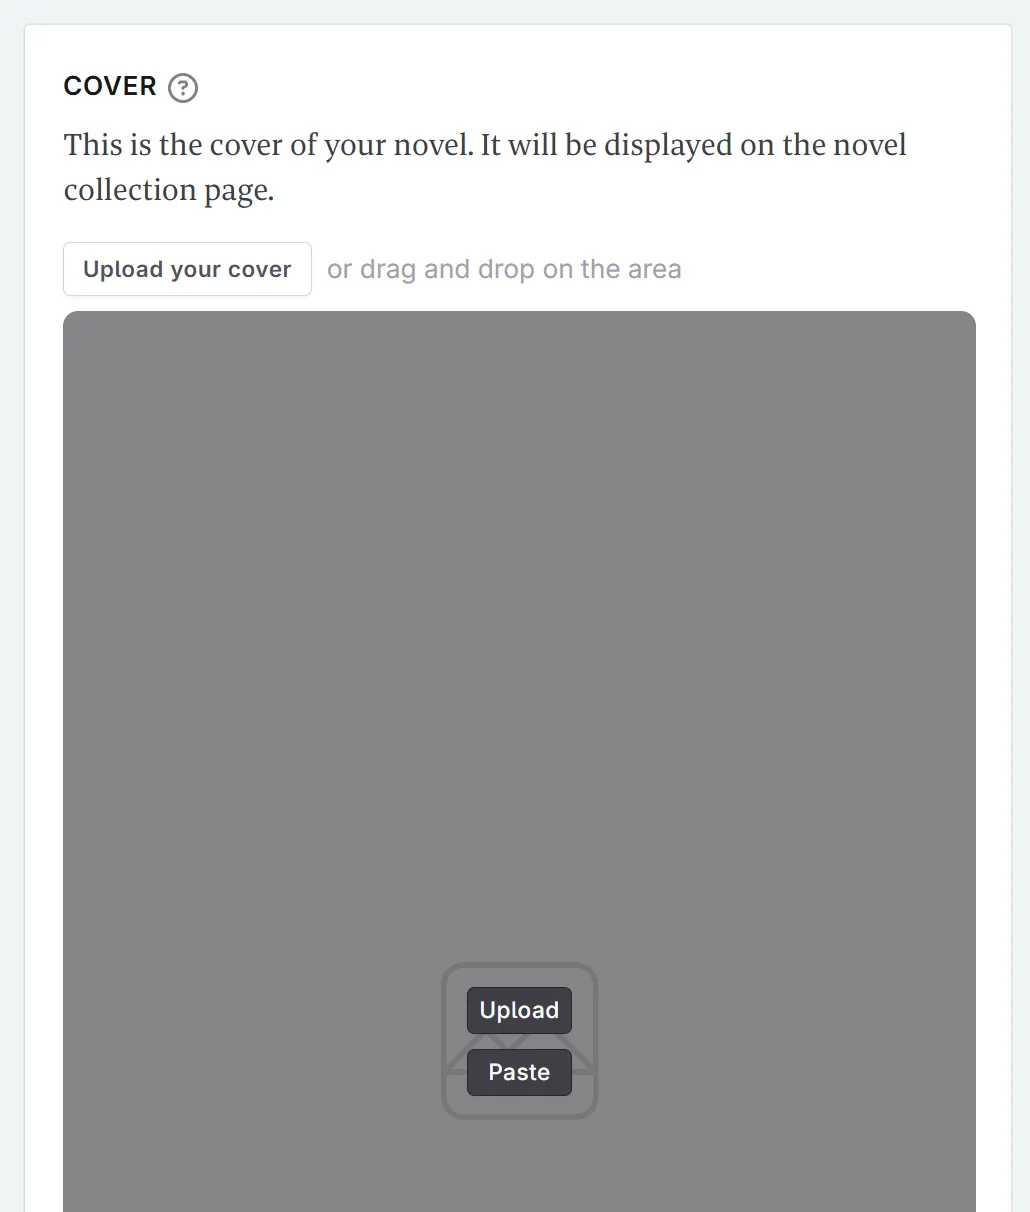
You can also add a cover image to your novel. These images have a 1.6:1 ratio (meaning the image is 1.6 times wider than it is tall), which matches the standard for Amazon Kindle covers. Don’t worry if your image isn’t a perfect fit—Novelcrafter has a built-in image cropper to help you adjust it.
Archiving or deleting your novel
If at any point you want to start from scratch in a new novel, you can choose between archiving your novel (which still keeps it for later access) or deleting it. We recommend archiving to preserve your creative work for future inspiration. There’s no limit to the number of novels you can have, so you can create as many test novels as you need!

Closing thoughts
And just like that, you’ve successfully created a place for your story inside of Novelcrafter. But a house isn’t a home until you start filling it, and a novel project is just a container until it’s filled with ideas.
You may have noticed that there are no save buttons in the settings or any other part of the software. This is intentional as Novelcrafter continuously saves your work online in the background, allowing you to concentrate on your writing. Just make sure you are connected to the internet for your changes to be saved.
In the next lesson, we’ll start capturing inspiration by adding our first brainstorming notes.
This lesson was taught by:
Kate
Based in the UK, Kate has been writing since she was young, driven by a burning need to get the vivid tales in her head down on paper… or the computer screen.