
- Level:
- Novice
- Lessons:
- 18 Lessons
Writing a Complete Scene
Combine everything you've learned to write a full scene from start to finish.
- Reading Time
- approx. 2 min
In The Ultimate Beginner’s Guide, you’ve learned how to brainstorm, build your Codex, plan scenes, use AI chat, organize your world, and write prose in the manuscript.
In this final lesson, you’ll use those parts together. You’ll write a complete scene, from checking your notes to typing the last line.
Before You Start Writing
Good preparation makes the writing itself easier.
Review your scene summary. Look at the scene you want to write. Does it still match the story you want to tell? If not, update it. If you’re coming back to your draft after a break, it can also help to scan the nearby scene summaries for continuity.
Check the relevant Codex entries. Open the characters, locations, or lore entries that matter for this scene. Make sure the details are current.
For this walkthrough, I’m going to write the scene where Mia discovers that the postman has not returned from today’s route. I already have:
- A scene summary
- Mia’s Codex entry with her personality and background
- The Glenford Nook as a location entry
- Callum’s (the postman) Codex entry I’ll quickly check each one to make sure they are all up-to-date before I start writing.
Writing the Scene
With your summary reviewed and your Codex up to date, you’re ready to draft. Here’s one way to combine manual writing with the tools you’ve already learned.
Start with your own words
Try opening the scene yourself. If you already know your POV character’s voice well, this can help shape the tone of the scene right away. Even one paragraph is enough to give the scene a clear direction.
I’m starting with Mia dealing with the afternoon closing. I want the reader to feel the quiet (yet chaotic) routine of her morning before anything goes wrong, so I’m writing this part myself to get the pacing right.
Check your Codex as you go
As you write character names, you’ll see them appear as mentions. If you need to confirm a detail, click the mention for a quick preview or open the full entry in the side panel.
Use scene beats when you need help
If you know what should happen next but the wording is not coming easily, type a slash / and write a scene beat. Let the AI draft a passage, then choose what to do with it. You may apply it, retry it, or discard it.
If you prefer to work from a rough draft, you can also generate a larger section and revise it afterward. And if you prefer to write without AI, then keep writing.
Keep Moving
In a first draft, it often helps to focus on forward progress. If a sentence feels awkward, keep going. If the AI generates something that is close but not quite right, save it and make a note to revise it later.
Managing Your Growing Story
As your draft gets longer, quick navigation becomes more useful. The story timeline on the right side of the manuscript can help.
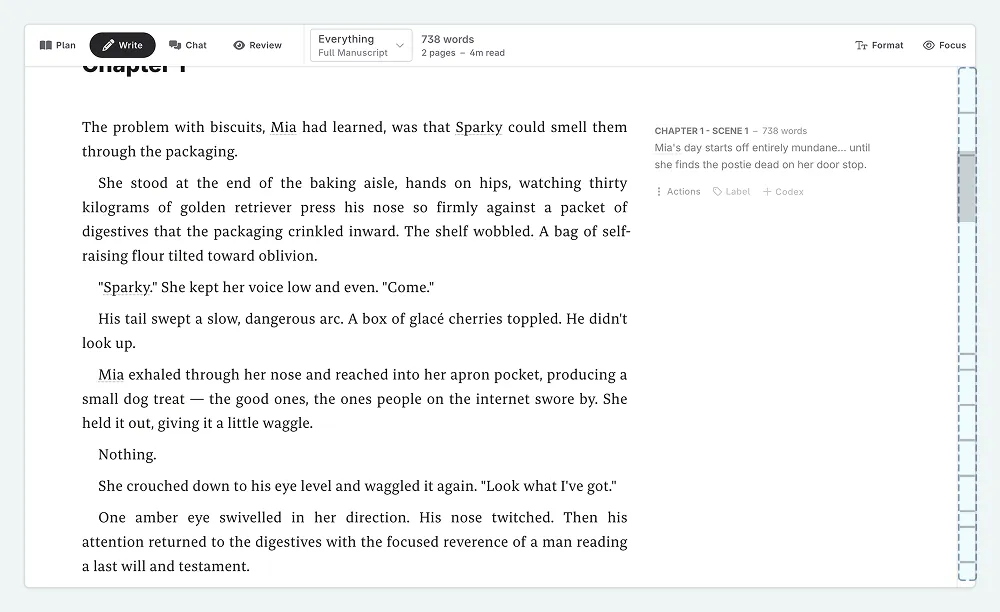
Each marker on the timeline represents a scene. Click one to jump there. The highlighted marker shows your current position in the story.
This helps when you want to check an earlier scene for continuity or when you’re drafting scenes out of order.
In this lesson, you reviewed your notes, drafted in the manuscript, used AI scene beats for support, and navigated with the story timeline. From here, you’re ready to keep building your manuscript one scene at a time.
This lesson was taught by:
Kate
Based in the UK, Kate has been writing since she was young, driven by a burning need to get the vivid tales in her head down on paper… or the computer screen.