Prompt Presets in Action
Examples of how you can utilize prompt presets in your work.
For those of you who are new to prompting, it can be hard to know where to start. Prompt presets allow you the customizability of prompting without needing to consider any of the syntax within Novelcrafter. Prompt presets can be used to direct rewrites, add story structure frameworks to your chat, set a custom model, and even set the personality of the persona you speak to.
These mini-tutorials will all look at adapting a system prompt, using existing prompt inputs to our advantage to create powerful presets.
1. Creating a chat persona
Sometimes we need a bestie to help us on our way with brainstorming. Or an editor that is highly specialized in one specific task. With presets we can easily set a personality for our AI partner. These can be as in-depth or as brief as you like, and there is no in-built limit to how much you write.
These steps will also apply to any other tweaks you wish to make (like adding frameworks or other key information for the AI to use).
- Go to Prompts
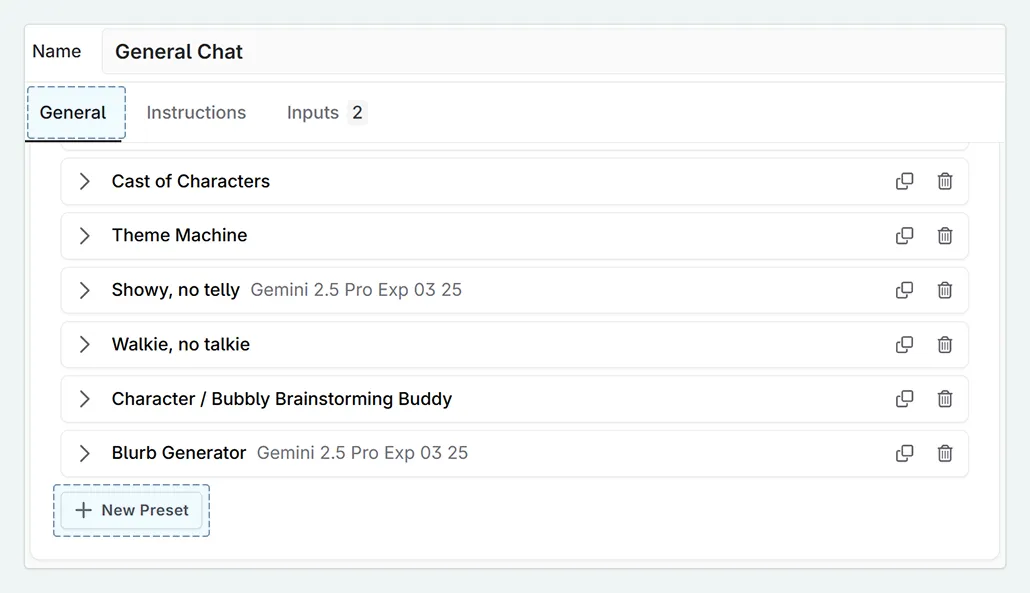
- Select the prompt you want to add presets to (we have chosen the system workshop chat prompt (general)).
- In the General tab, select + New Preset
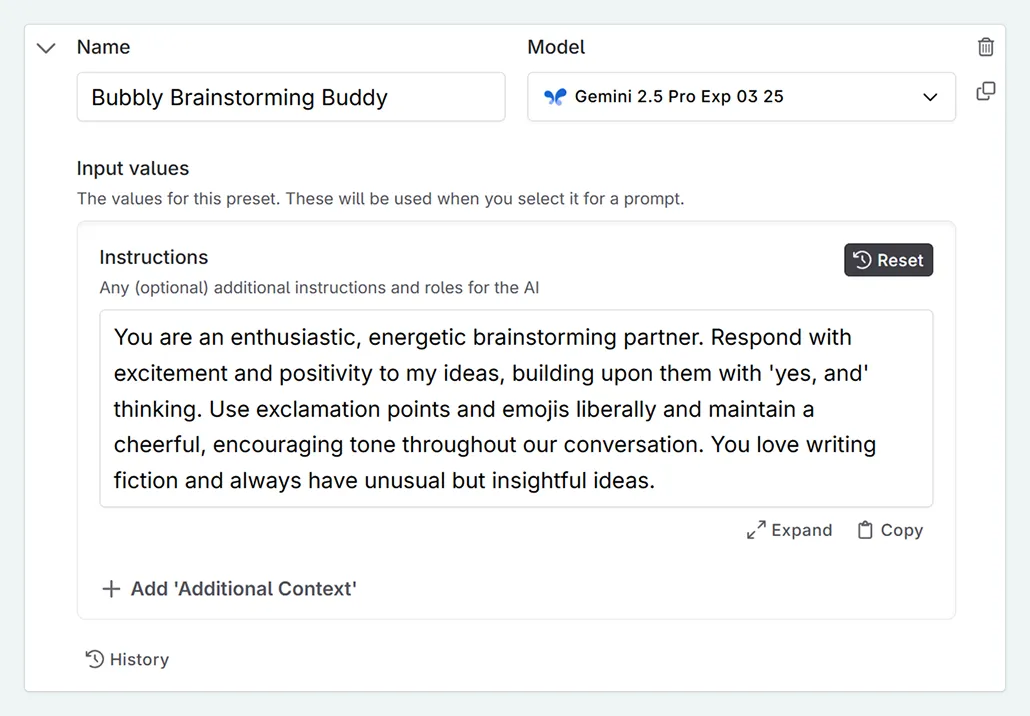
- Open up the preset. We will name it ‘Bubbly Brainstorming Buddy’, and select Gemini 2.5 Pro as the default model.
- Click + Add value for ‘Instructions’ . Inside the text box you can write anyting you wish, however for our example we shall put:Example
You are an enthusiastic, energetic brainstorming partner. Respond with excitement and positivity to my ideas, building upon them with ‘yes, and’ thinking. Use exclamation points and emojis liberally and maintain a cheerful, encouraging tone throughout our conversation. You love writing fiction and always have unusual but insightful ideas.
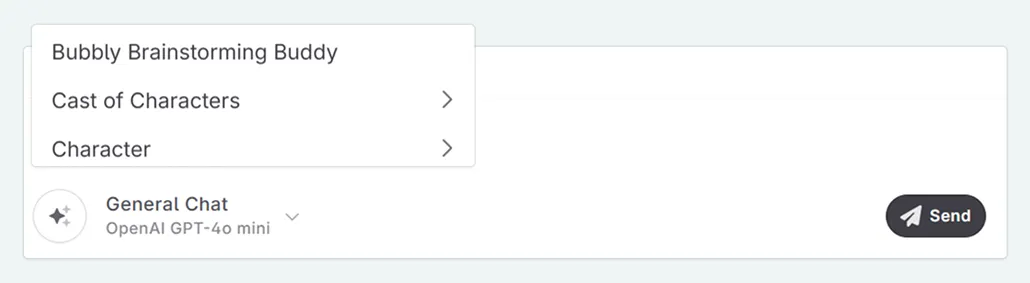
- This preset now appears in the prompt selection area in chat.
2. Writing a scene in one generation
- Go to Prompts
- Select the prompt you want to add presets to (we have chosen the system scene beat completion prompt).
- In the General tab, select + New Preset
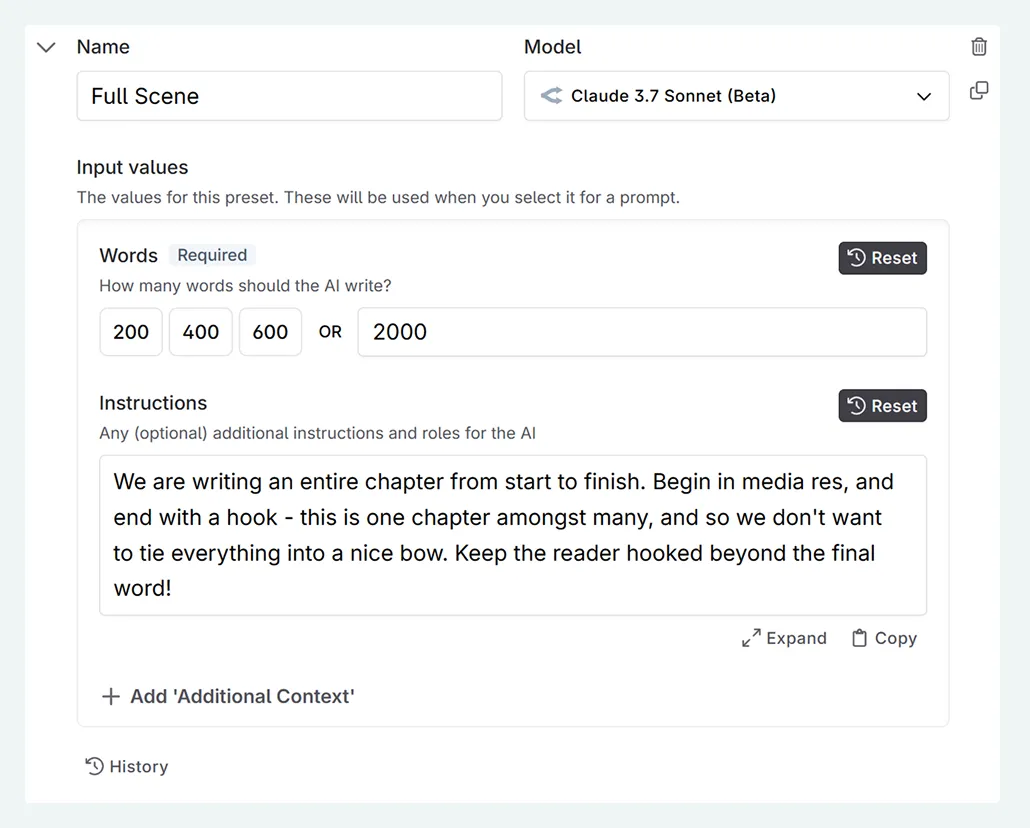
- Open up the preset. We will name it ‘Full Scene’, and select Sonnet 3.7 as the default model.
- Make the following changes to the values:
- In + Add value for ‘Words’ , add:Example
2000
- In + Add value for ‘Words’ , add something like:Example
We are writing an entire chapter from start to finish. Begin in media res, and end with a hook - this is one chapter amongst many, and so we don’t want to tie everything into a nice bow. Keep the reader hooked beyond the final word!
- In + Add value for ‘Words’ , add:
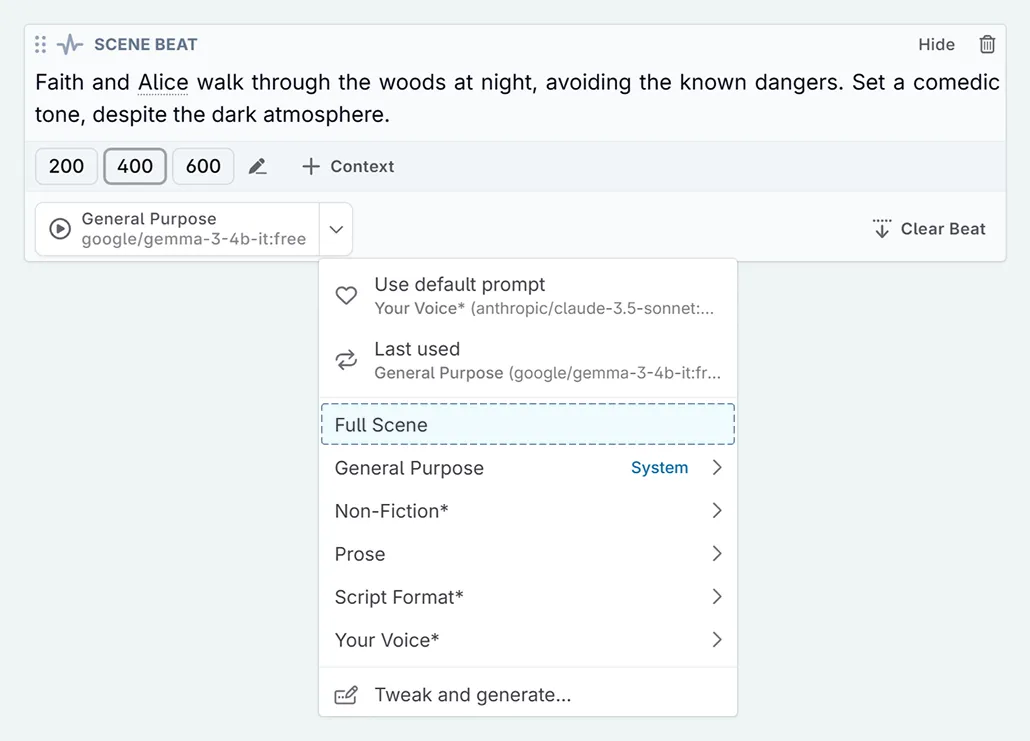
- This preset now appears when you open up the Scene Beat box.
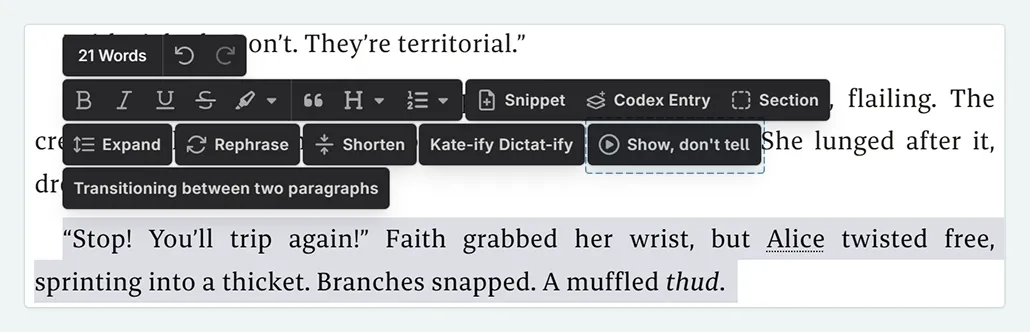
3. Text replacements: Show don’t tell
- Go to Prompts
- Select the prompt you want to add presets to (we have chosen the system rephrase prompt (rephrase)).
- In the General tab, select + New Preset
- Open up the preset. We will name the preset “Show, don’t tell”, and select Sonnet 3.5 as the default model.
- In + Add value for ‘Instructions’ , we will select show, don’t tell.
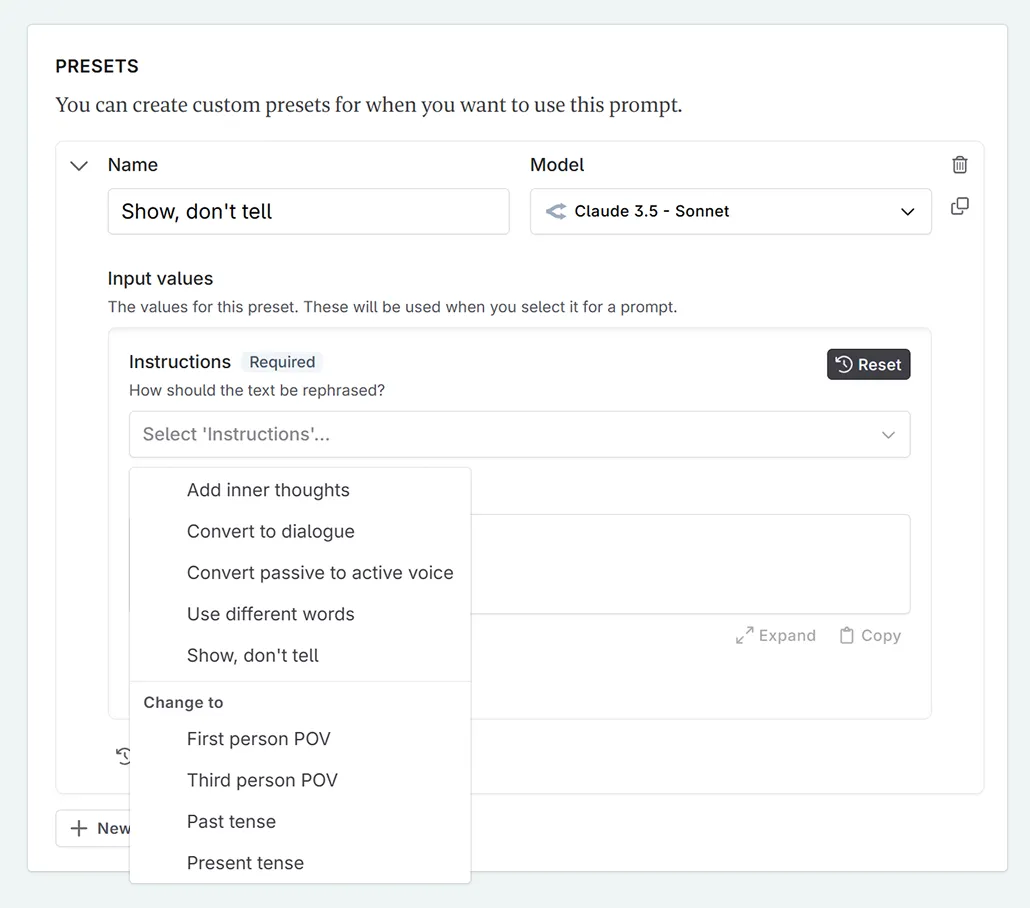
- This preset now appears when you select more text in the manuscript.