Prompt Detail Tabs
Learn the function of each tab in the prompt details section of the library.
When opening up a prompt in the prompt library, there are a few tabs that may show up, depending on the type of prompt.
General
Instructions
Advanced
Description
Usages (only seen for prompt components)
General
The general tab gives you a unified overview of the most essential parts of a prompt.
Presets
In the presets section, you have quick-access to all the presets associated with the prompt. You can also create new presets and add in
You can click the dropdown arrow to minimize and maximize the preset.

If you have used a prompt without a preset, you will also see these here, under the Recently Used section, where you can add them to your presets.
For a comprehensive overview of presets, you can see our preset documentation.
- Name. How your preset will appear in the prompt selection menus.
- Model. The default model set for this preset. You can select from any model in the prompt’s model bank.
- Input values. The inputs that you want to keep constant in your preset. Leave blank any that you don’t need, or will change on a per-message basis.
Models
In the models section, you can select all of the LLMs that you wish to use your prompt with. Unless you have a tried-and-true favourite, it is a good idea to experiment with the different models, as each have their own unique flavour.
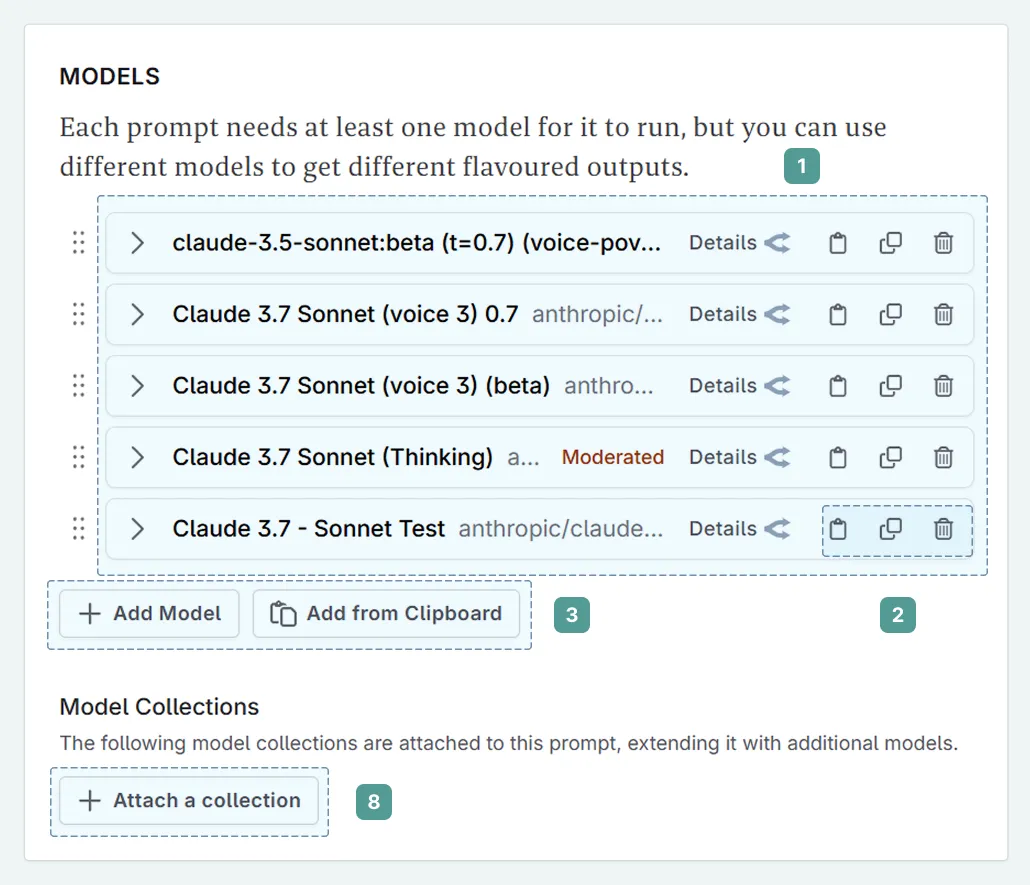
If you have cloned the system prompt, or added a prompt from someone else’s library, it is likely that this section is pre-populated with models. You will see these here.
You can clone, copy, or delete any models added.
Add models using either + Add Model to add from scratch, or Add from Clipboard (3) to add models from another prompt.
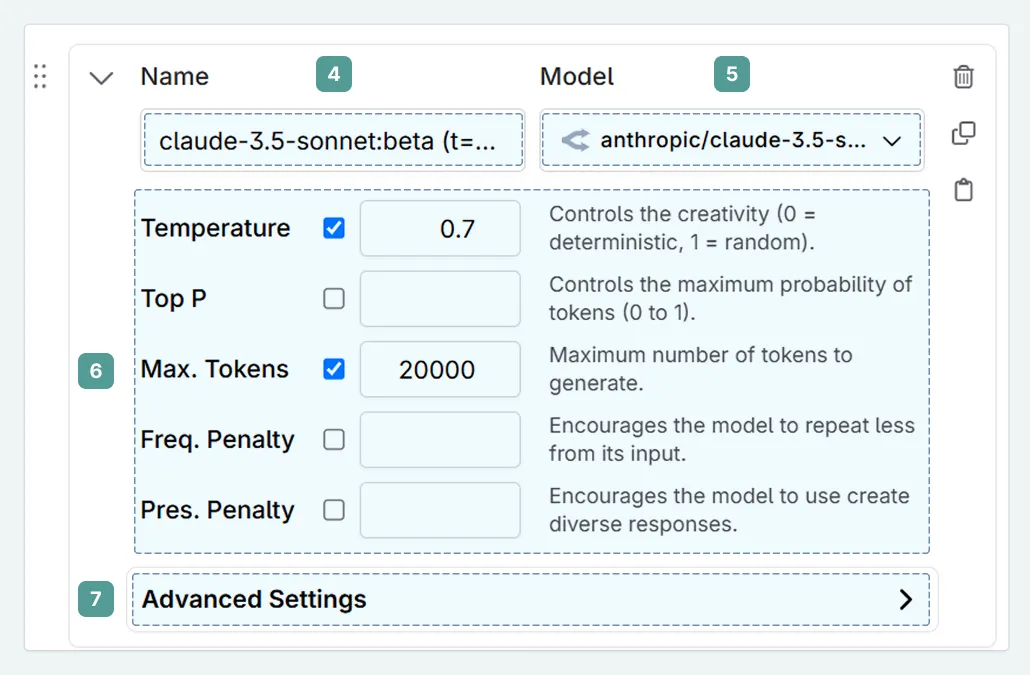
Name. If you select the model first, this will be auto-populated. You may wish to include other details to identify it if you are playing around with model parameters, for easy access.
Model. This list will vary depending on what AI vendors you have connected to.
Model Parameters. The basic parameters that you will play with regarding your model. Leaving a field blank will set the values to the model defaults. You can learn more about model parameters in our glossary.
Advanced Settings.
+ Attach a Collection allows you to add a model collection to your prompt
General Settings
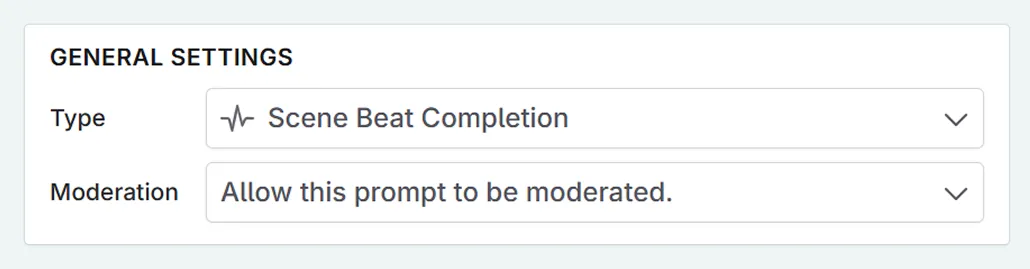
In the general settings, you can:
- Define the type of prompt.
- Choose the moderation behaviour.
Instructions
This is the heart of a prompt. You can input your system message, and add in as many user and/or AI messages as you wish. If two user/AI messages are consecutive, or the message between them is empty, they will be merged into one message.
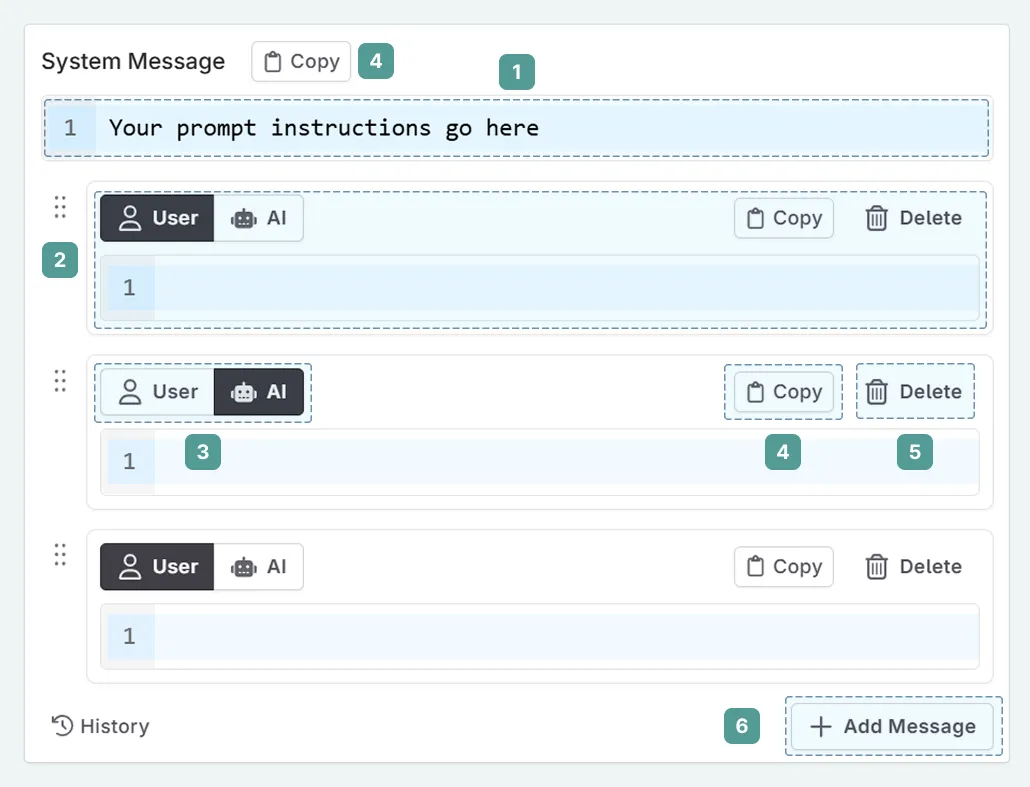
- System Message.
- User/AI messages.
- Change the message type (user or AI)
- Copy Message
- Delete Message
- Add Message to add another User/AI message
You can also use the history button to show past iterations of your prompt, and to restore any of these versions. These work on a whole-prompt basis, rather than a per system/user/AI message.
Advanced
Inputs are where you define the selections you can make before sending a prompt. The system prompts all include inputs, covering word count, rephrase type, and allowing scene/snippet/codex context.
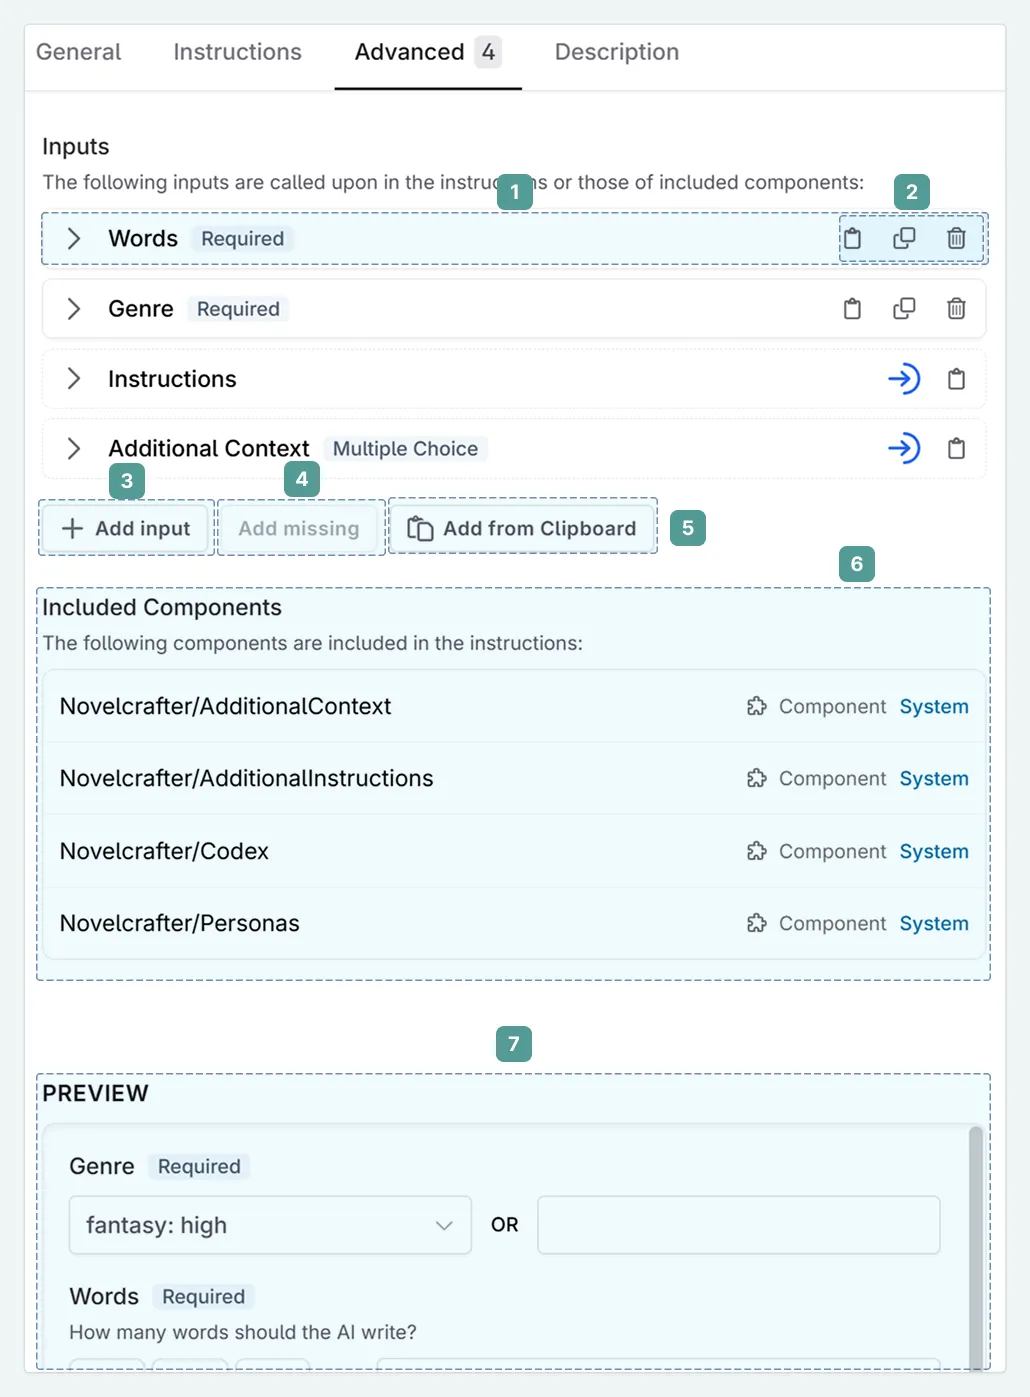
The input tab is made up of two sections (depending on your screen size these may appear side-by-side, or stacked).
- Create and edit your inputs. For more information on prompt inputs, see here. You can click on the > to open and close an input.
- Copy to clipboard, clone, or delete an input.
- Add a new input.
- Add any missing inputs from the prompt.
- Add an input from the clipboard
- Included Components. See any components that are included in your prompt.
- Prompt Preview. Test out your prompt inputs and see how the instructions change when you change the inputs in real time.
Description
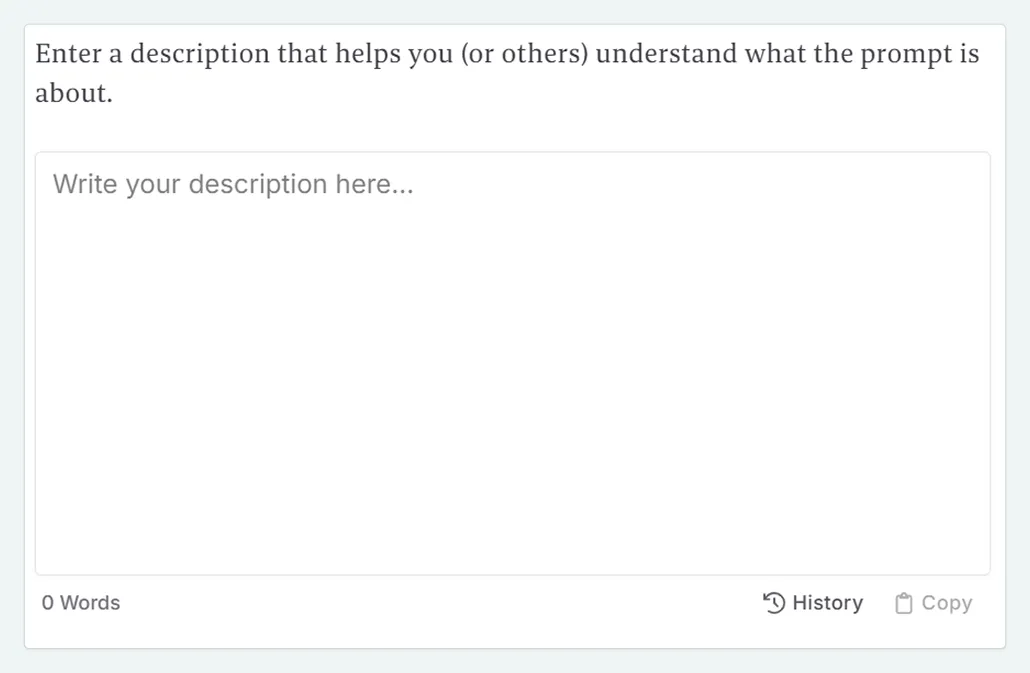
A simple textbox to put in details on your prompt. This is never seen by the AI model when the prompt is run.
Use the description tab for helpful hints and tips when you share the prompt with others.