Adding Codex Details
Guidance for adding Codex details to a character
When you start out with making a Codex, you may wonder what details you need to include. If your character is not yet fully developed, it can be hard to visualise what you want.
In this documentation, we will go step-by-step through the process of adding Codex details, and give some tips on how to decide when to use a detail.
Example: Delilah Harris
As the protagonist of the story, Delilah will have the most detailed character Codex. Pre-details, this was displayed as a combination of paragraphs and a form in the description. With Codex details we can clean this up. I will include details for the following:
- Occupation
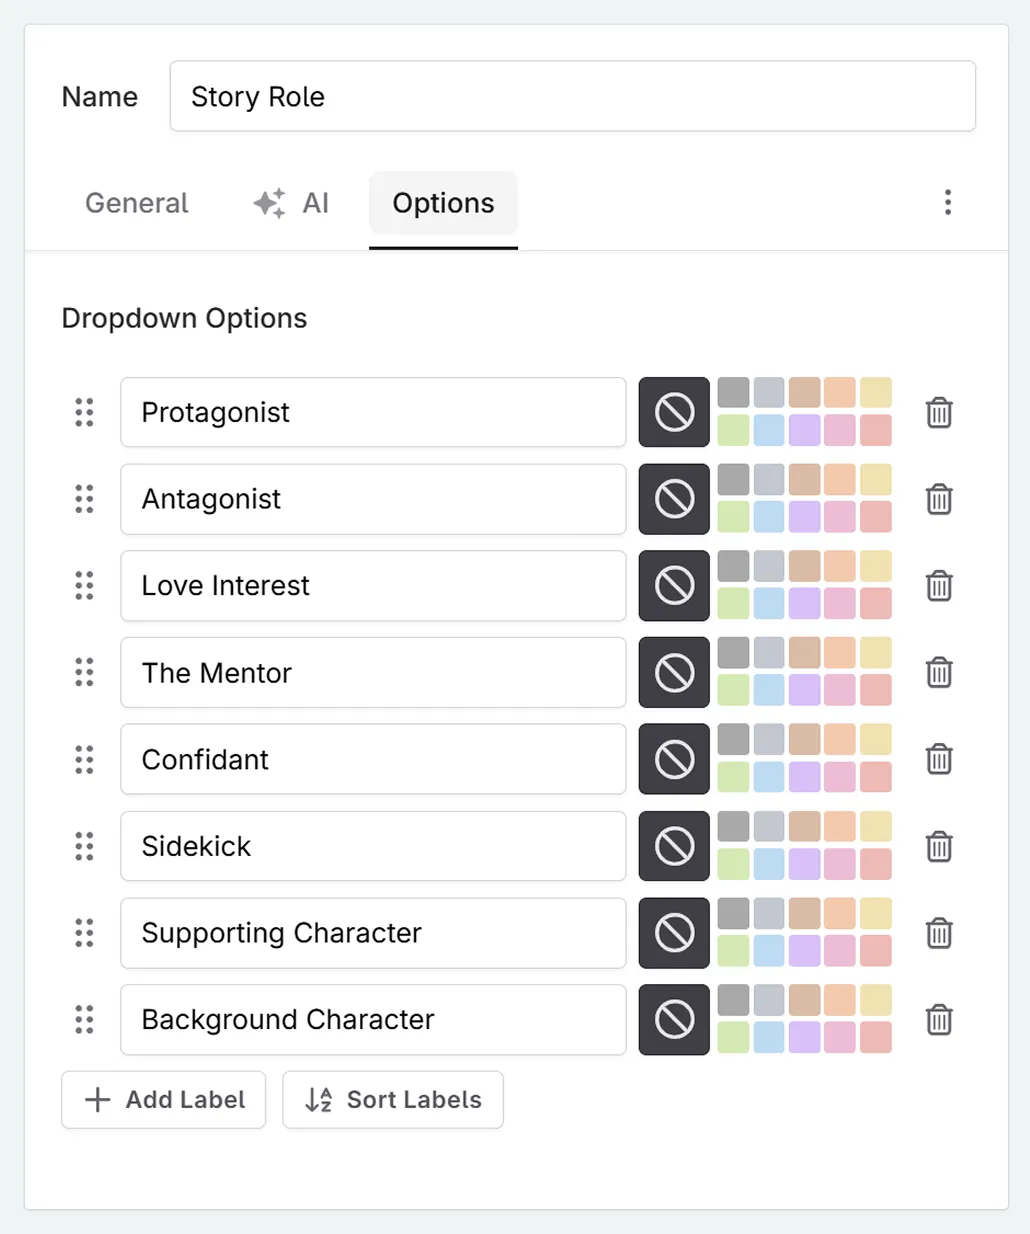
- Story Role
- Pronouns
- Backstory
- Character Conflict
- Strengths
- Weaknesses
- Goals
- Voice Sheet
There is no detail for physical appearance in this example, as this can be included in the main description. Likewise, personality can be conveyed through several of these details, making it redundant.
To add the Codex presets such as pronouns or backstory, see our guide to codex detail presets
To create a Codex detail from scratch:
- Click on the cog icon in the Codex side panel, then custom details.
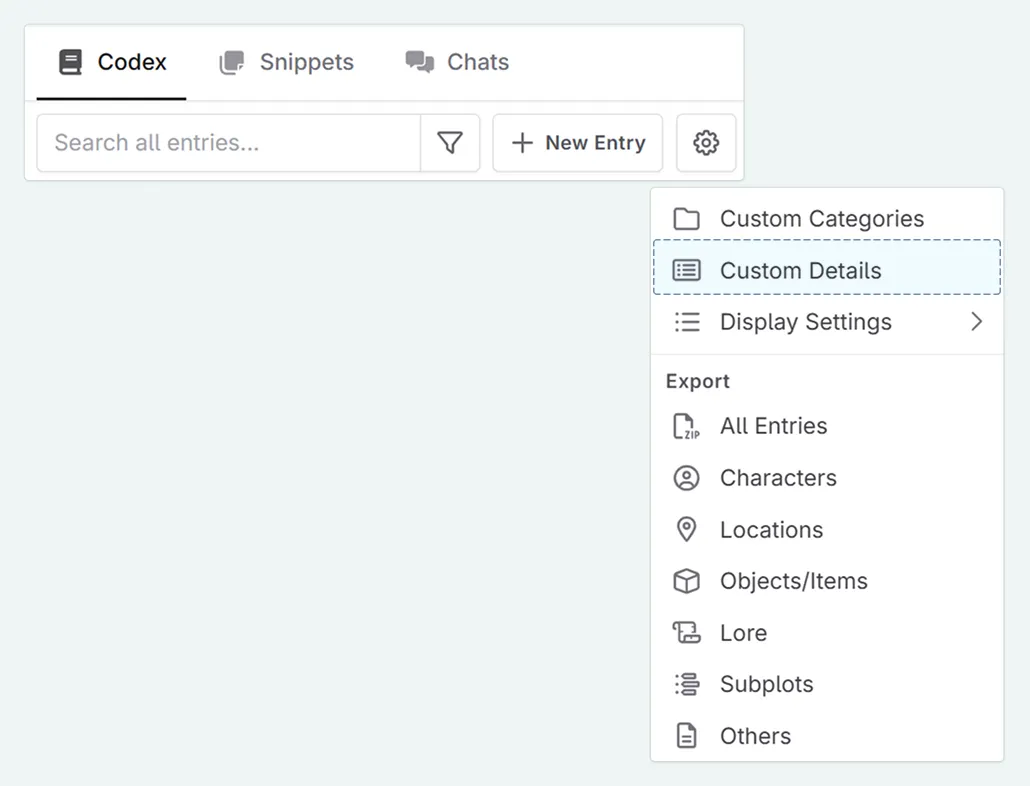
- Click new detail, and then select the type of Codex detail you wish to add (you can change this later, so don’t worry too much about this in advance)
- Name your Codex detail. You can also change the detail type here.
- Set the affected scope (novel/series) and which Codex types this detail is available on.
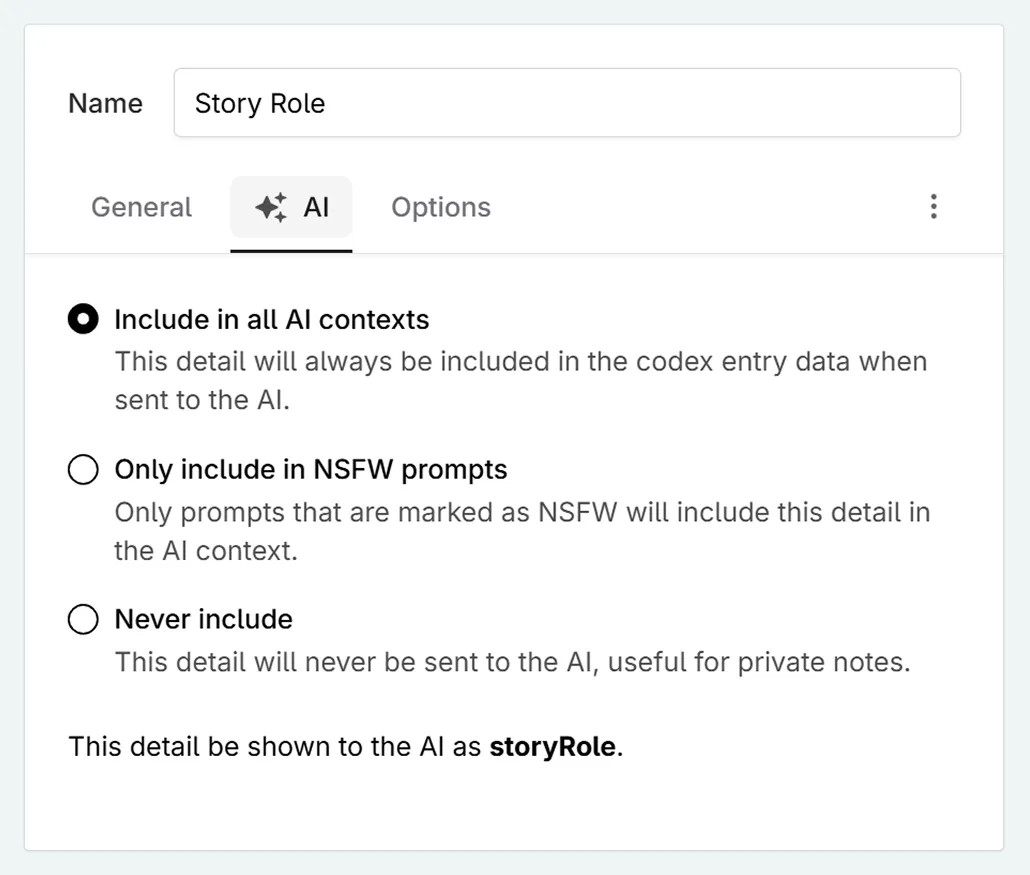
- Optional: if you use AI with your writing, set the AI scope
- Optional: if you are using a dropdown Codex detail, set the options that you can choose between.