LM Studio
Connect to LM Studio to run your AI models locally.
If you want to run AI models locally, LM Studio is a popular option.
Learn how to install the app by following the LM Studio documentation.
Connecting to LM Studio
Connecting to LM Studio from Novelcrafter can be done two ways:
- Same Device: Both Novelcrafter and LM Studio run on the same computer.
- Local Network: Novelcrafter and LM Studio run on separate computers, both within the same WiFi/LAN.
Configuring LM Studio Bionic
Before connecting, turn on the Local API:
Open the Settings at the bottom of the left sidebar.
(You might have to open the sidebar with the Button in the top left corner)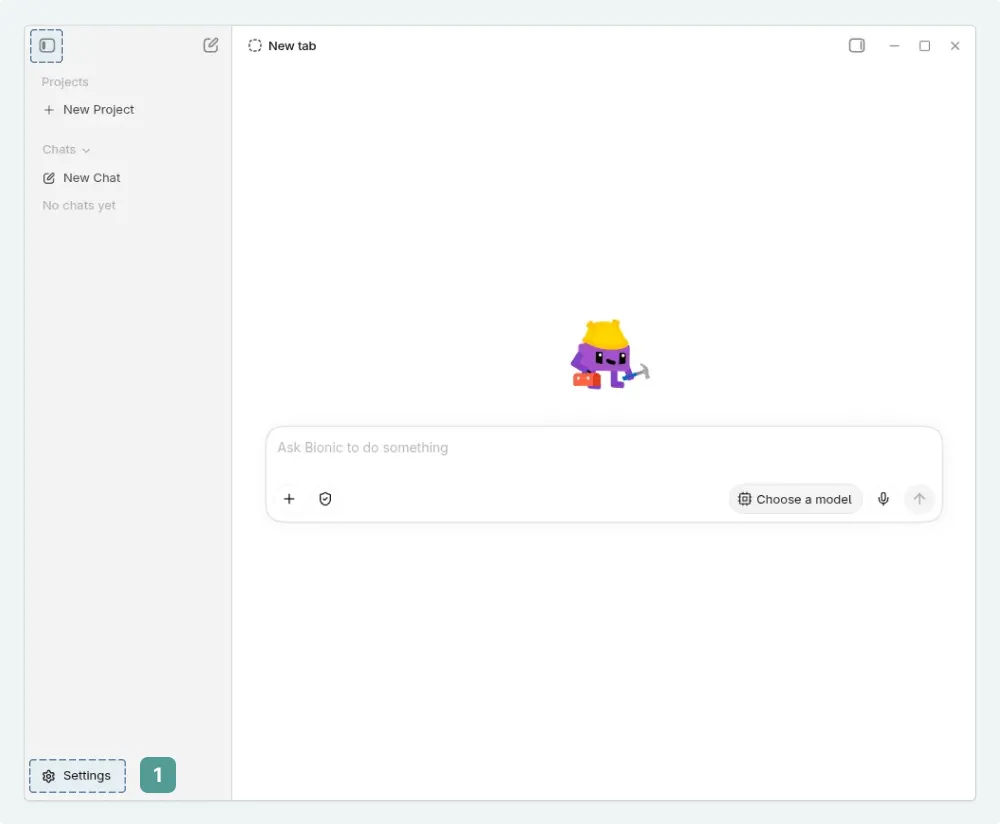
Go to Local Model API
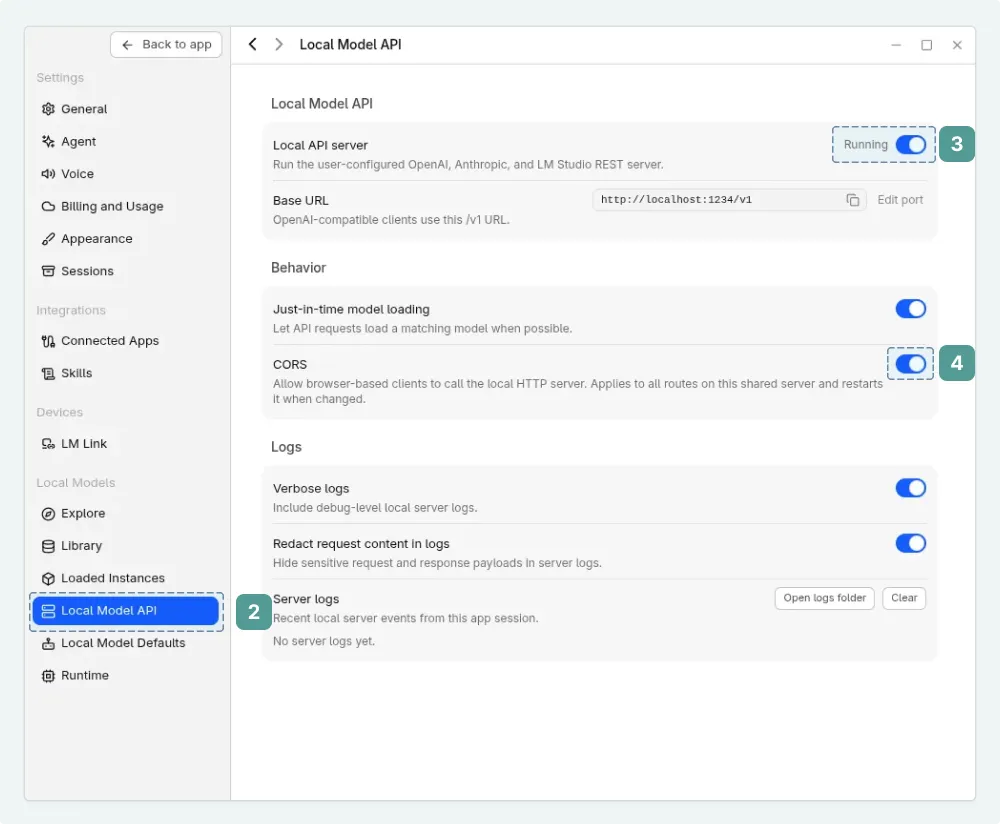
Enable Local API Server
Enable CORS
Continue to the Connect to Novelcrafter section below.
Configuring LM Studio
Before connecting, turn on LM Studio’s server mode:
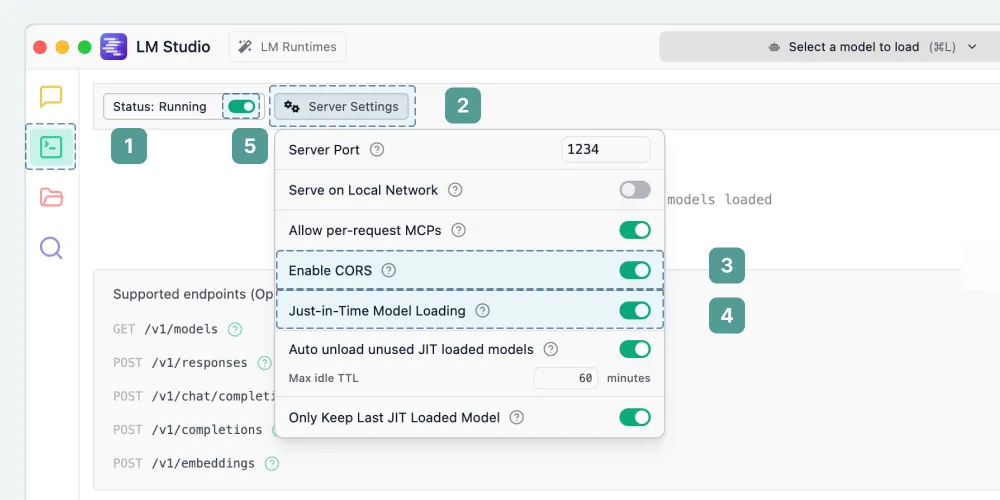
- Open the Developer Settings tab on the left side of LM Studio.
- Open the Server Settings.
- Enable Enable CORS. This is required for your browser to talk to LM Studio.
- Enable Just-in-Time Model Loading. This ensures Novelcrafter can see all your downloaded models, even if you haven’t loaded one yet.
- Click the toggle next to Status so the Status is Running. This starts the LM Studio server.
Connecting Novelcrafter to LM Studio
Once the LM Studio server is running, head over to Novelcrafter:
Click on your profile icon and select AI Connections .
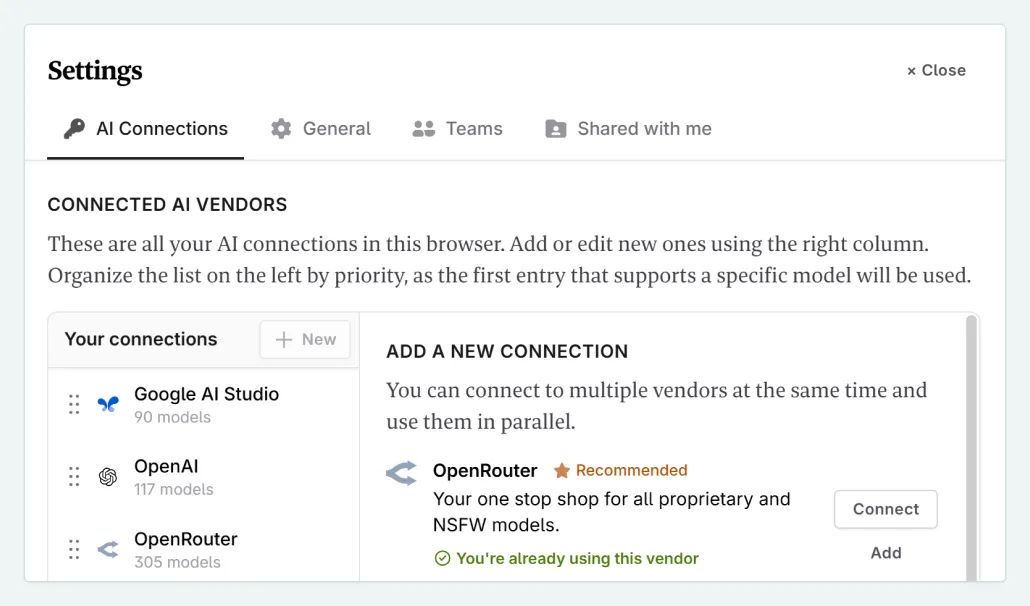
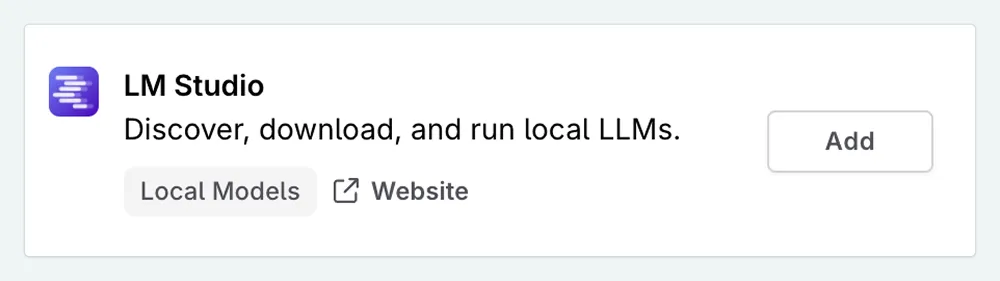
Find LM Studio in the new connection list and click Add .
If your browser asks for permission to access local devices, click Allow.
On your new connection, check its settings. The defaults usually work, but verify the following:
Host: usually
localhostor127.0.0.1- LM Studio Bionic: this should match the first part in the “Base URL” Field in the Local Model API Page.
- LM Studio: this should match the “Reachable at” label in the top right of the Developer Settings tab.
Port: Should match the number after the colon (e.g., for
http://127.0.0.1:1234the port is1234).
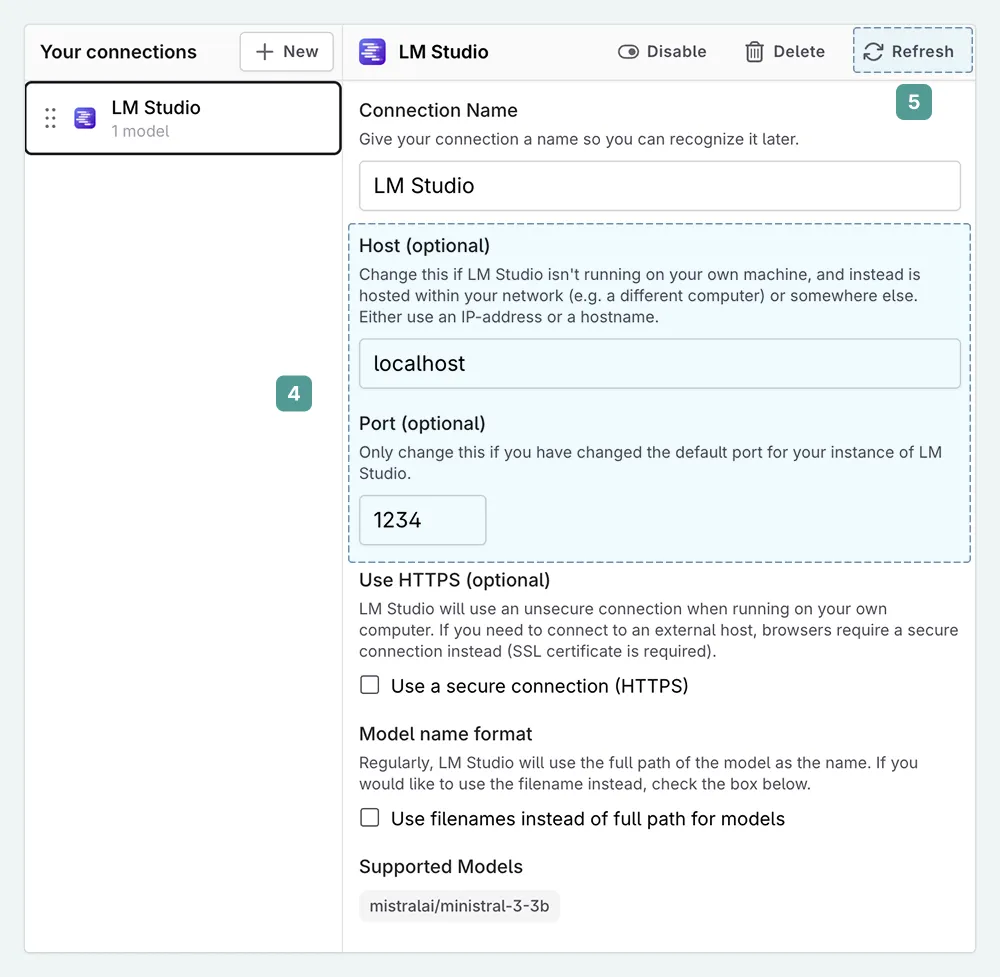
Click Refresh to test the connection.
If the connection is successful, you will see your available models listed under Supported Models. 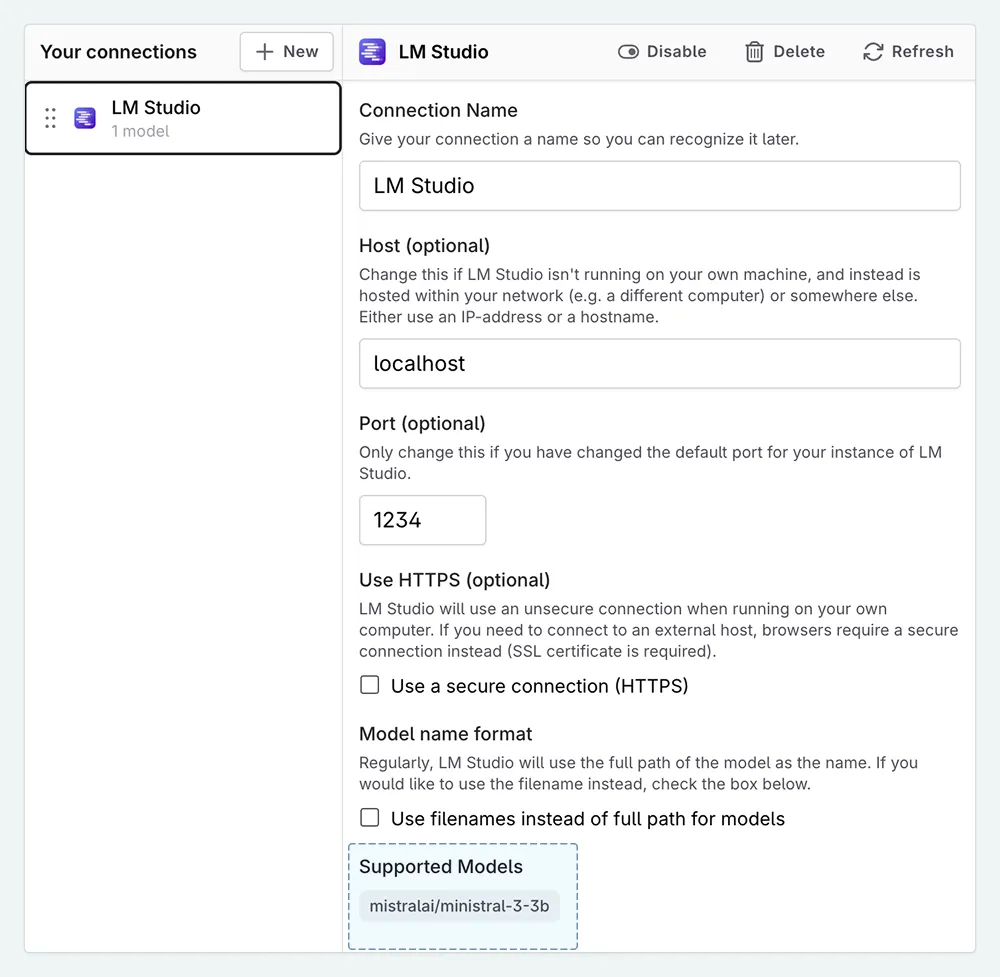
Model Collections
Locally hosted models aren’t listed in Novelcrafter’s default Model Collection. If your models appear greyed out in the model selection list, you need to create a custom Model Collection.
Known Browser Issues
Depending on your web browser, you may need to take extra steps:
Safari: Safari currently blocks local connections that aren’t encrypted (HTTPS). Since LM Studio runs on HTTP, you cannot use Safari for this setup.
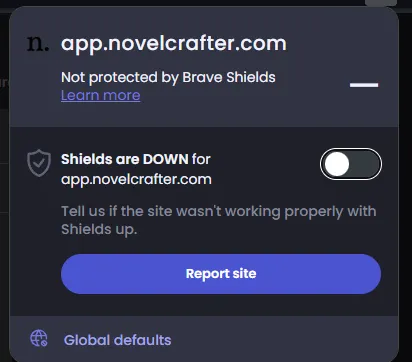
Brave: “Brave Shields” may block local connections. If the connection fails, try disabling Shields for Novelcrafter.
Troubleshooting
Error running prompt ‘user/assistant/user/assistant’ while running a prompt
Some models, for example the Google Gemma family, do not allow a system message to be sent, only user messages. This setting can be changed in the Model settings under the Advanced Settings .
Disable the option System msg. for the model you are using/getting this error with.
I downloaded a new model and it’s not showing up
If you just downloaded a new model in LM Studio, and it’s not showing up in Novelcrafter, the following steps might help:
- Please make sure the “Just-in-time” option is enabled (see above).
- Remember that new models need to be added to your model collections before being able to use them in Novelcrafter.
- If your model is still not showing up, open the LM Studio connection in Novelcrafter, and hit Refresh to grab a new model list from LM Studio.