Organizing Your Acts, Chapters, and Scenes
Create, move and split up acts, chapters, and scenes in the Plan interface.
In the Plan interface, there are multiple ways to add new acts, chapters, and scenes, as well as to move them around. You can also split chapters and acts into multiple parts. This flexibility allows you to structure your story in a way that best suits your narrative, without making permanent decisions about the order of your story.
Creating New Acts, Chapters, and Scenes
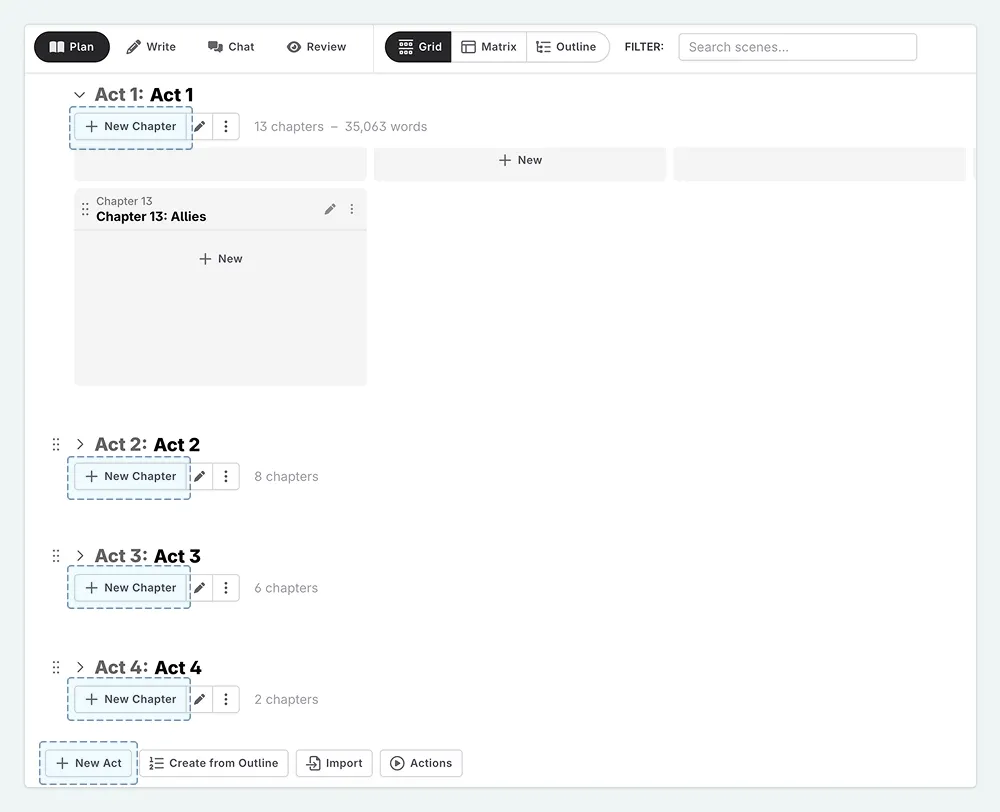
1. Press + New Chapter/Act
At the top of each act, there is a + New Chapter button. Clicking this button will add a new chapter to the end of that act.
At the bottom of the Plan interface, you will find a + New Act button. Clicking this button will add a new act to the end of your story.
2. Press + New
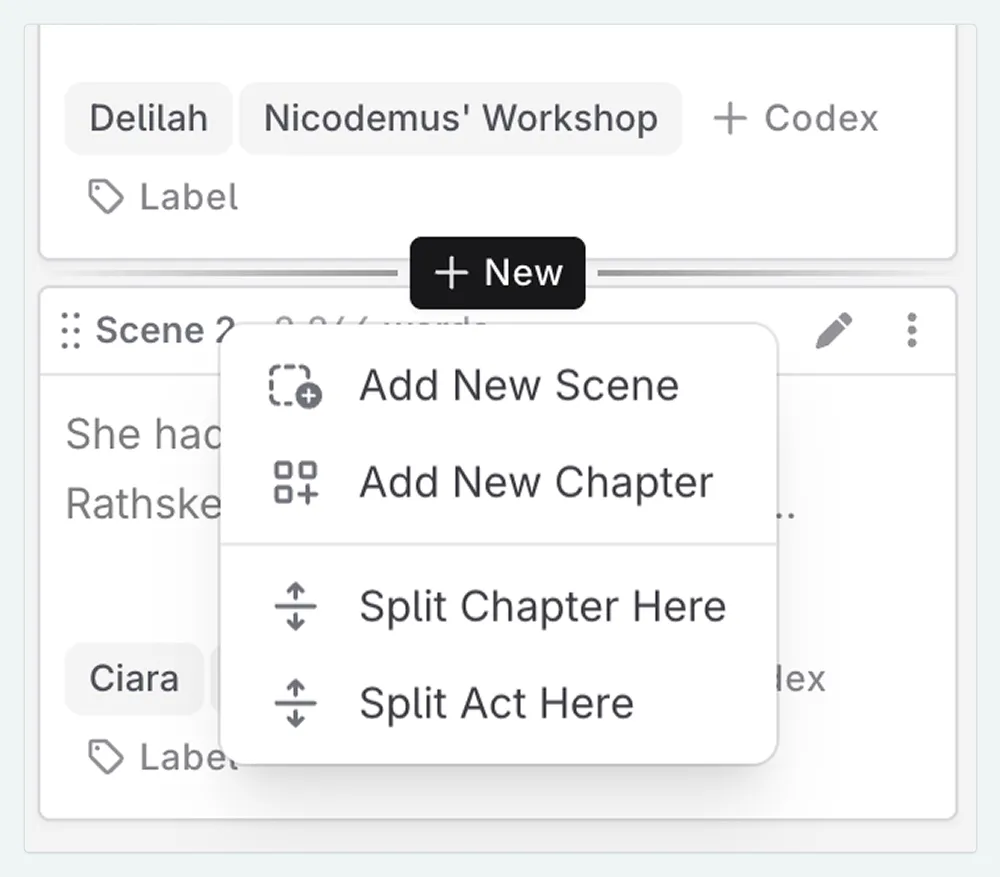
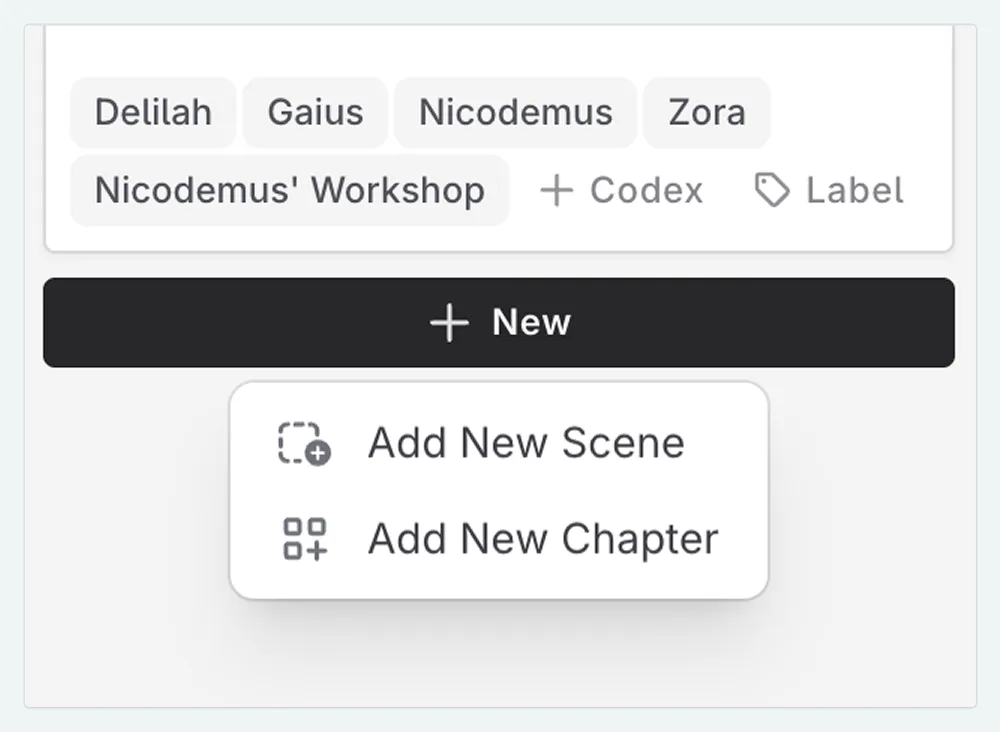
Found at the bottom of each chapter, or between scenes when you hover over the space between them, the + New button opens up a menu.
Between Scenes. Here you have options to add a new scene or chapter between the two existing scenes. There is also the option to split the chapter or act into two parts, which will move all following scenes from that chapter into a new chapter or act.
At the bottom of a Chapter. Here you can add a new scene within the current chapter or a new chapter after the current.
3. Via the Actions Menu
By clicking on the actions menu for a scene, chapter, or act, you can access more options.
The + New submenu will differ depending on whether you are in a scene, chapter, or act, and if that scene/chapter/act is the first, last, or between other scenes/chapters/acts.
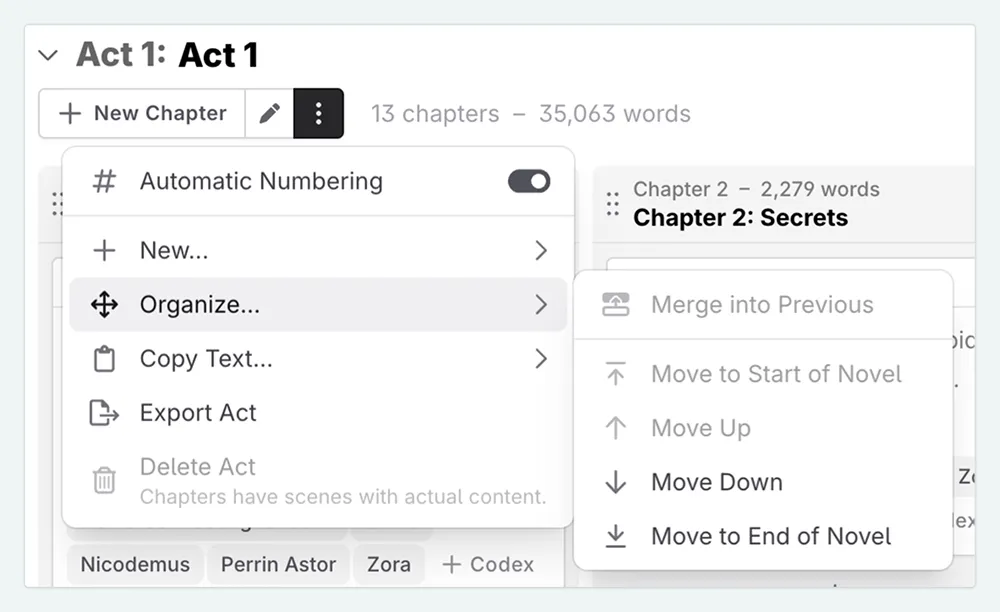
Act Actions Menu
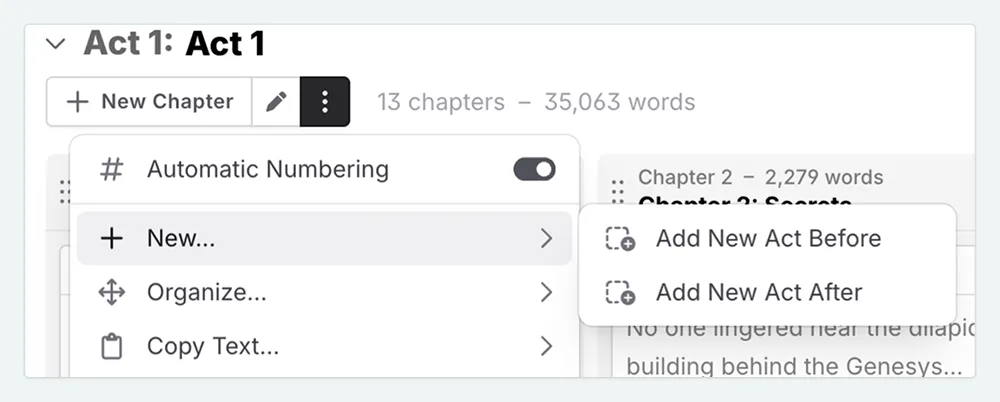
- Insert Act Before: This will insert a new act before the current one.
- Insert Act After: This will insert a new act after the current one.
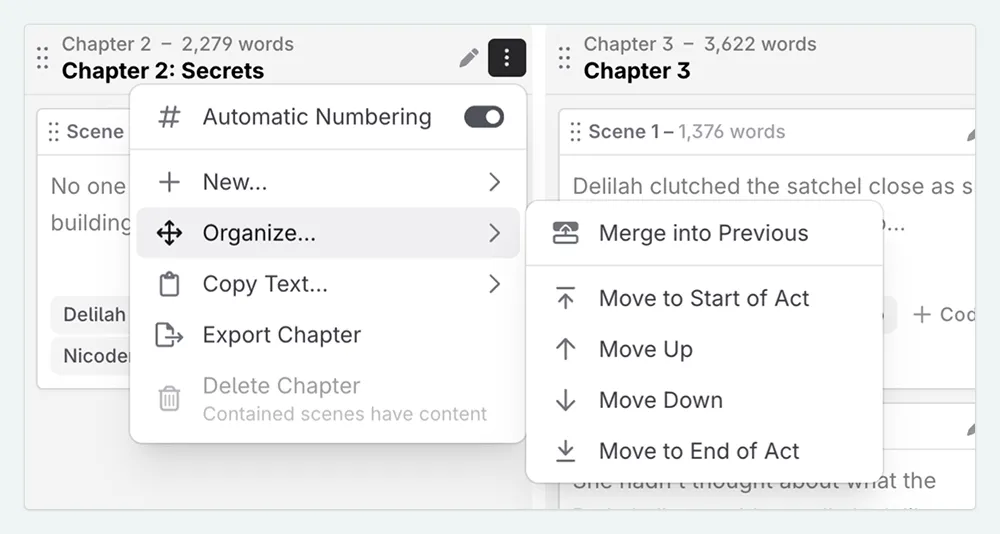
Chapter Actions Menu
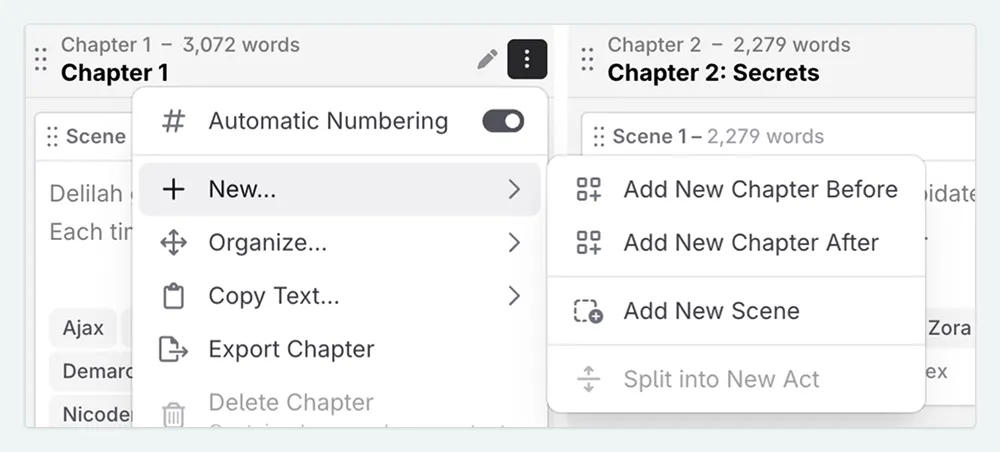
- Insert New Chapter Before: This will insert a new chapter before the current one.
- Insert New Chapter After: This will insert a new chapter after the current one.
- Add New Scene: This will add a new scene to the end of the the chapter.
- Split into New Act: The will place the selected chapter into a new act, and move all following chapters from the current act into that new act.
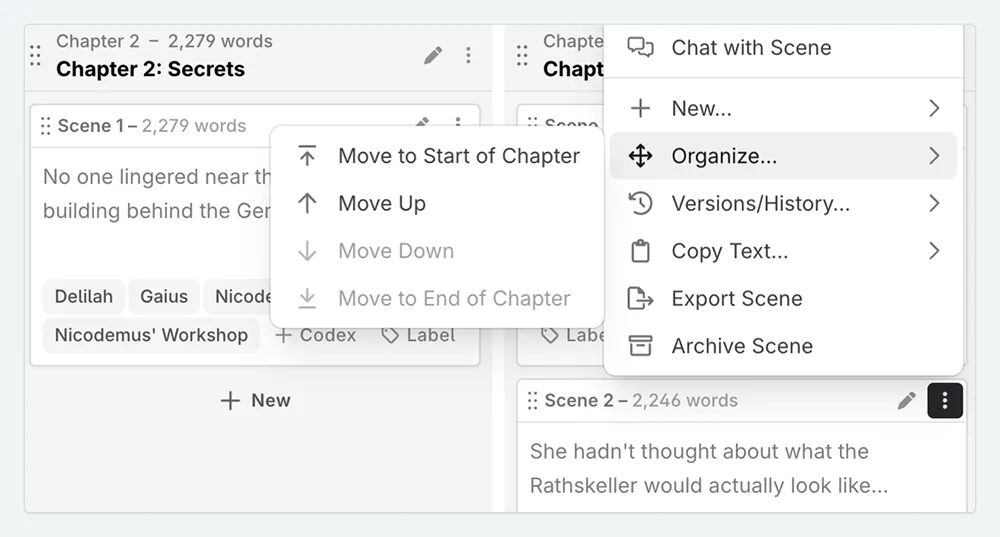
Scene Actions Menu
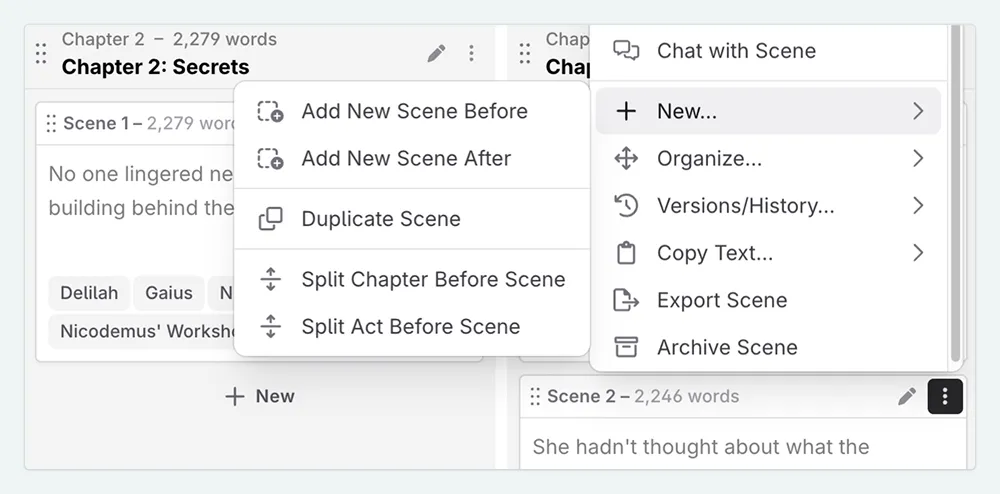
- Insert New Scene Before: This will insert a new scene before the current one.
- Insert New Scene After: This will insert a new scene after the current one.
- Duplicate Scene: Duplicate the scene into the current chapter.
- Split Chapter Before Scene: This will split the current chapter into two parts, with the new chapter starting with the current scene.
- Split into New Act: This will split the current act into two parts, creating a new act starting with the current scene in a new chapter.
Moving Acts, Chapters, and Scenes
1. Click and drag
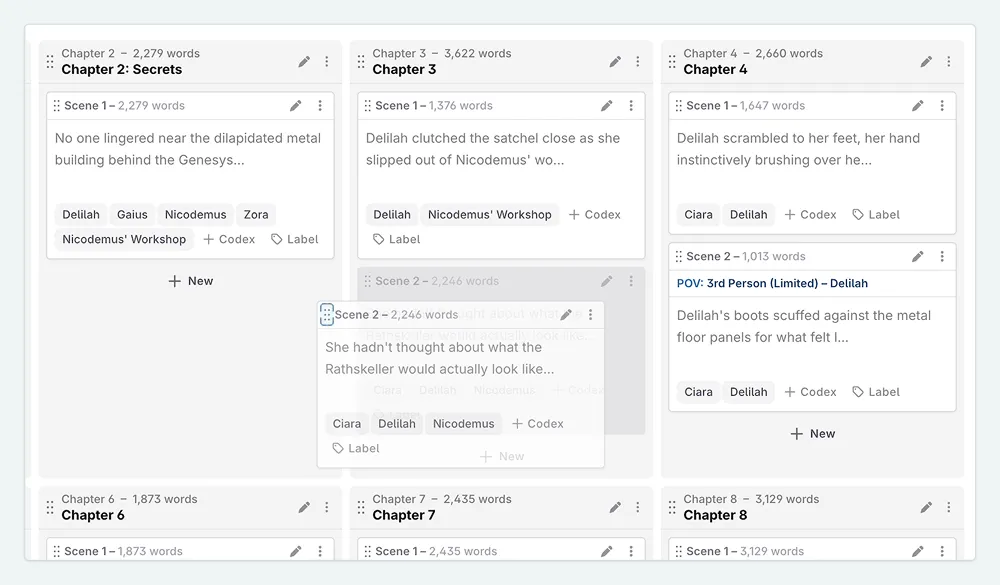
You can move any act, chapter, or scene by clicking and dragging the six dots to the left of the title. This allows you to reorganize your story structure easily, with minimal clicking.
This may not always work reliably on mobile devices, so we recommend using the actions menu to move acts, chapters, and scenes on mobile.
2. Via the Actions Menu
The Organize submenu will also differ depending on whether you are in a scene, chapter, or act, and if that scene/chapter/act is the first, last, or between other scenes/chapters/acts. If a selection is unavailable to you, then they will be grayed out. The options available are:
- Merge into Previous (only for Acts and Chapters): Merges the current chapter/act into the previous one. This will delete the current chapter/act and move its contents into the previous one.
- Move to Start of Novel/Act/Chapter: This will move the current scene/chapter/act to the start of the novel, act, or chapter.
- Move to End of Novel/Act/Chapter: This will move the current scene/chapter/act to the end of the novel, act, or chapter.
- Move Up: This will move the current scene/chapter/act up one position in the novel, act, or chapter.
- Move Down: This will move the current scene/chapter/act down one position in the novel, act, or chapter.